diy tear-off notepad
Alexa Rickenbach2 min read

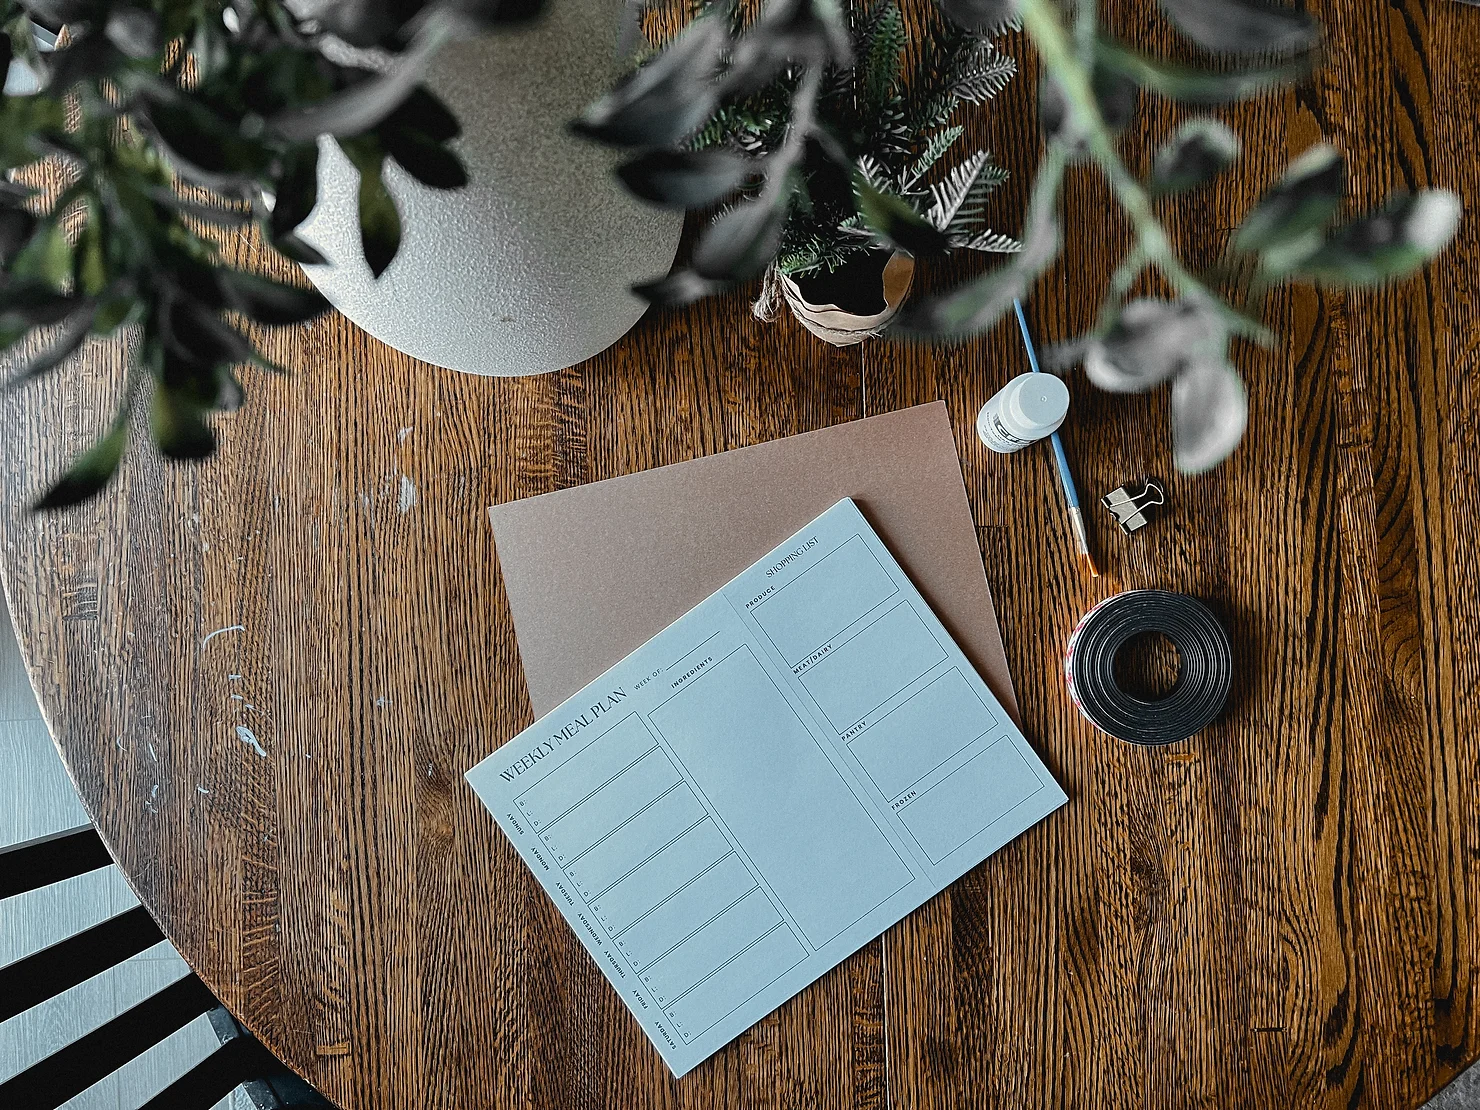
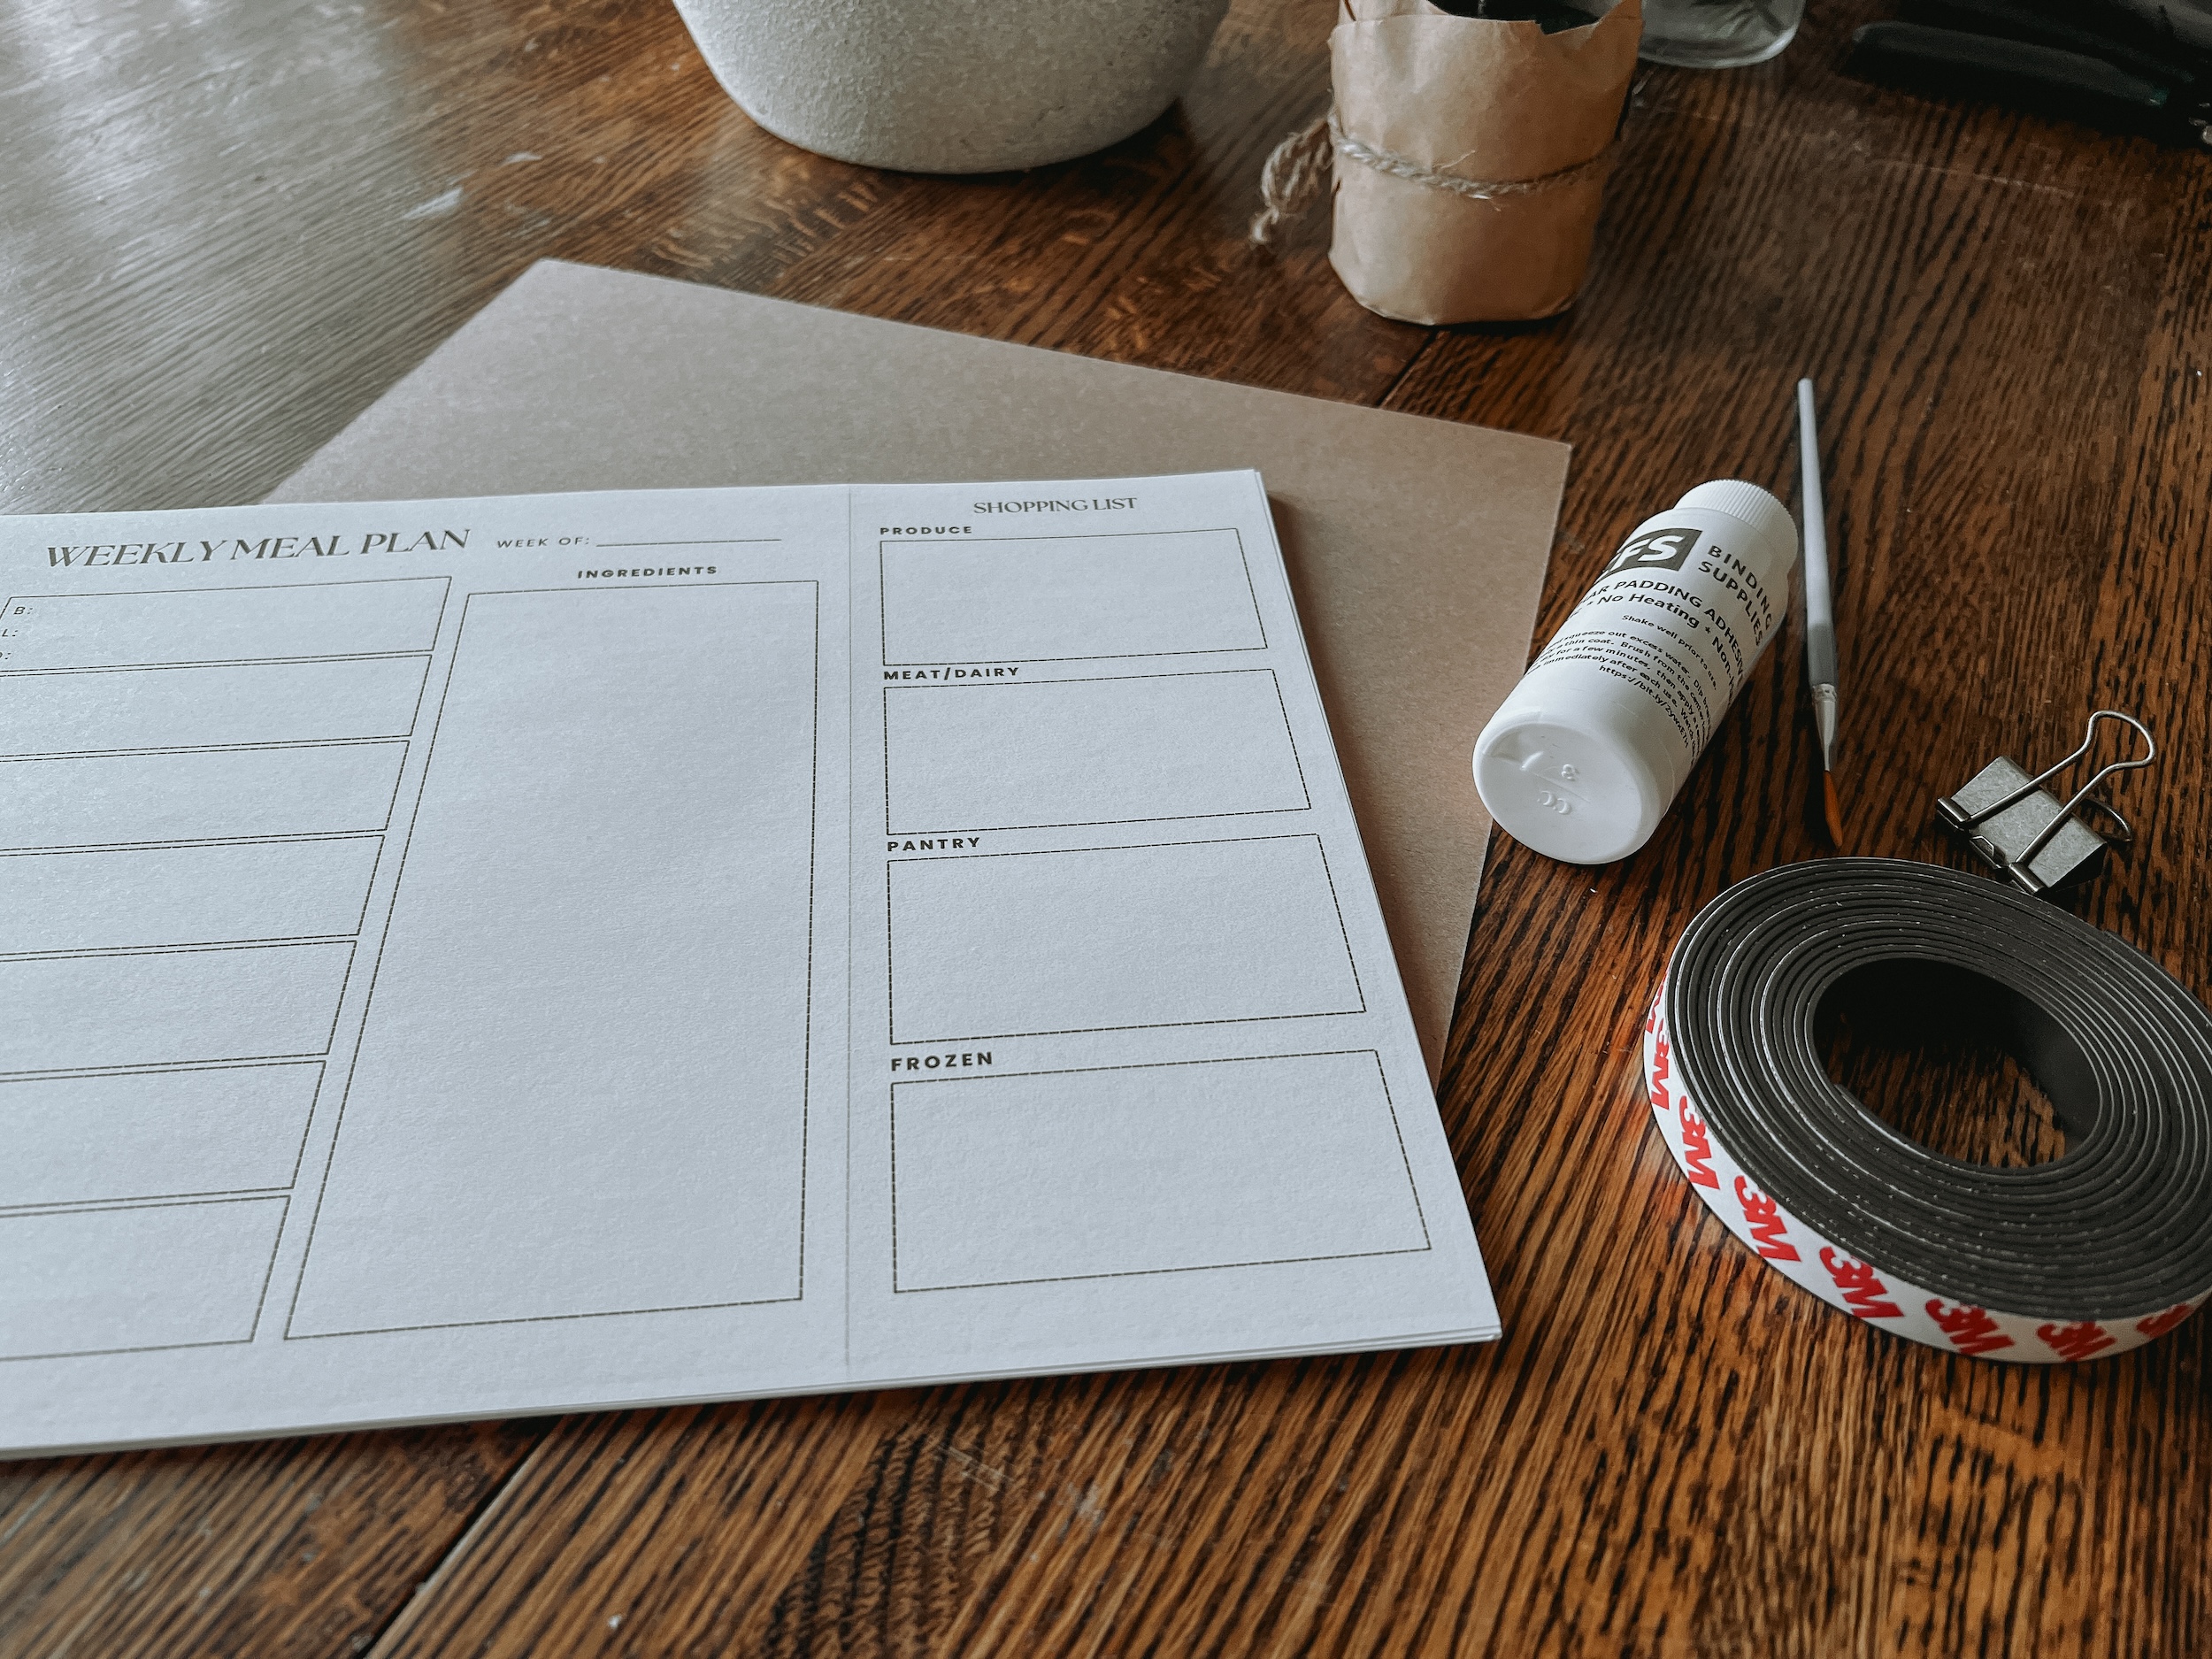
If you’re like me and love tools that make intentional living a little easier, this DIY tear-off meal planning notepad is the perfect addition to your meal planning rhythm! I searched for months to find the perfect meal-planning tool that made sense for my brain, and never found one that checked all my boxes. So, I made one! It’s got 3 sections: one for planning the meals, one for listing out all the ingredients so that you can reference it as you’re checking your pantry & fridge, and then a third section (that I formatted to tear off with this paper!) for the shopping list of things you didn’t have on hand.
I use it every single week, and it’s made meal planning a breeze!
You can actually use this method with just about any paper (I’m working on other templates, too!) for just about any purpose! Just print your paper (or use ruled/plain!) and follow the instructions below.
Here’s a step-by-step on how you can turn my Weekly Meal Planning Template into a custom tear-off notepad:
What You’ll Need
click to shop
Step-by-Step Instructions
1. Print the Template Start by printing my Weekly Meal Planning Template onto perforated paper. Be sure to pay attention to which way it’s printing in your printer! You’ll want to make sure the shopping list is printing onto the perforated part. Decide how thick you want your notepad to be—I like to print 50 sheets for a sturdy pad that will last weeks!
2. Stack Your Pages Neatly stack the printed pages on top of a piece of chipboard. The chipboard acts as a sturdy backing for your notepad.
3. Secure with Binder Clips Use binder clips to hold the stack of paper and chipboard firmly in place. Make sure the edge you’ll bind is aligned perfectly.
4. Apply Binding Glue Using a paintbrush, apply a layer of binding glue to the top edge of the stack. Be sure to cover both the paper and chipboard evenly. Let the glue dry completely, then apply a second coat for extra durability.
5. (Optional) Add Magnetic Strips Once the glue is fully dry, cut a few strips of magnetic tape and stick them to the back of the chipboard. This allows you to hang your notepad on your fridge for easy access!
Why You’ll Love This DIY
Intentional Living Made Easy: Keep your meals, ingredients, and shopping list organized in one place.
Customizable: Use my editable Canva template to tailor the design to your needs, or use plain paper!
Practical & Stylish: It’s beautiful & functional!
Saves Money: Instead of buying expensive pre-made notepads, create your own for a fraction of the cost!
With just a few supplies and a little creativity, you’ll have a meal planning tool that simplifies the process and helps you build intentionality into your meal planning each week. Give it a try and let me know how it turns out!
Ready to get started? Grab the template here: The Weekly Meal Plan
Pin this post for later!