diy nativity advent calendar
Alexa Rickenbach4 min read

A little Advent update for 2026!
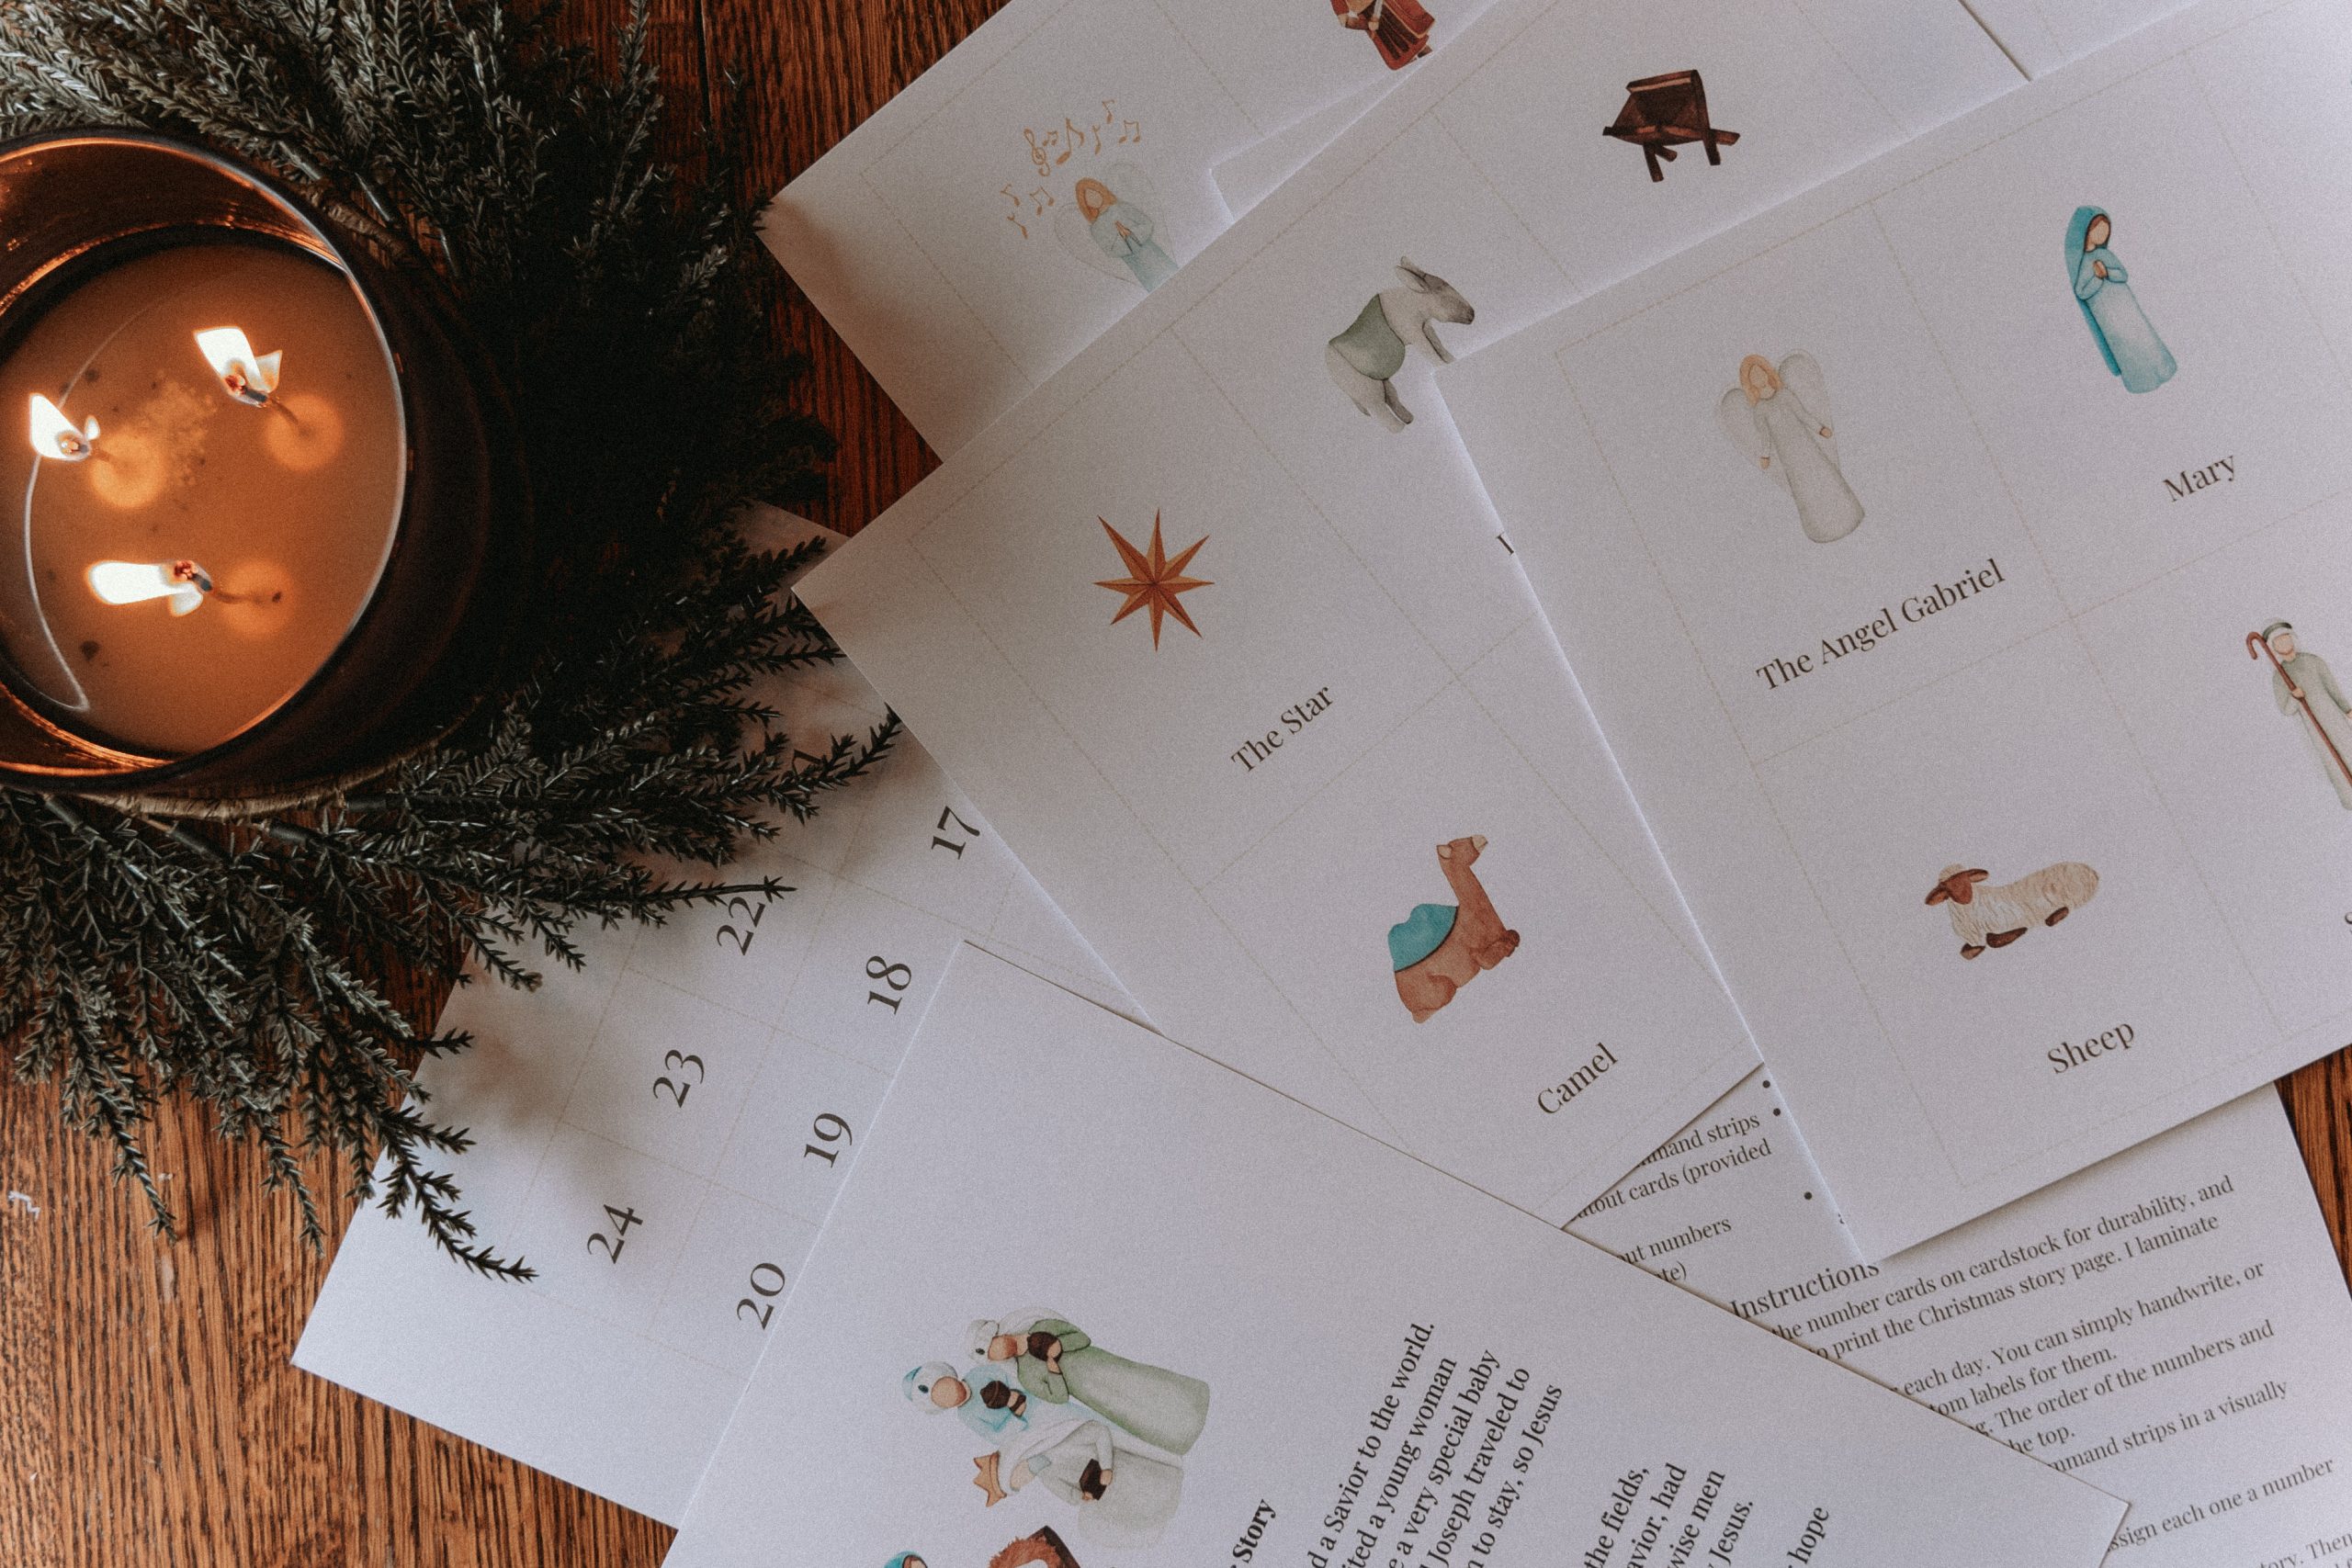
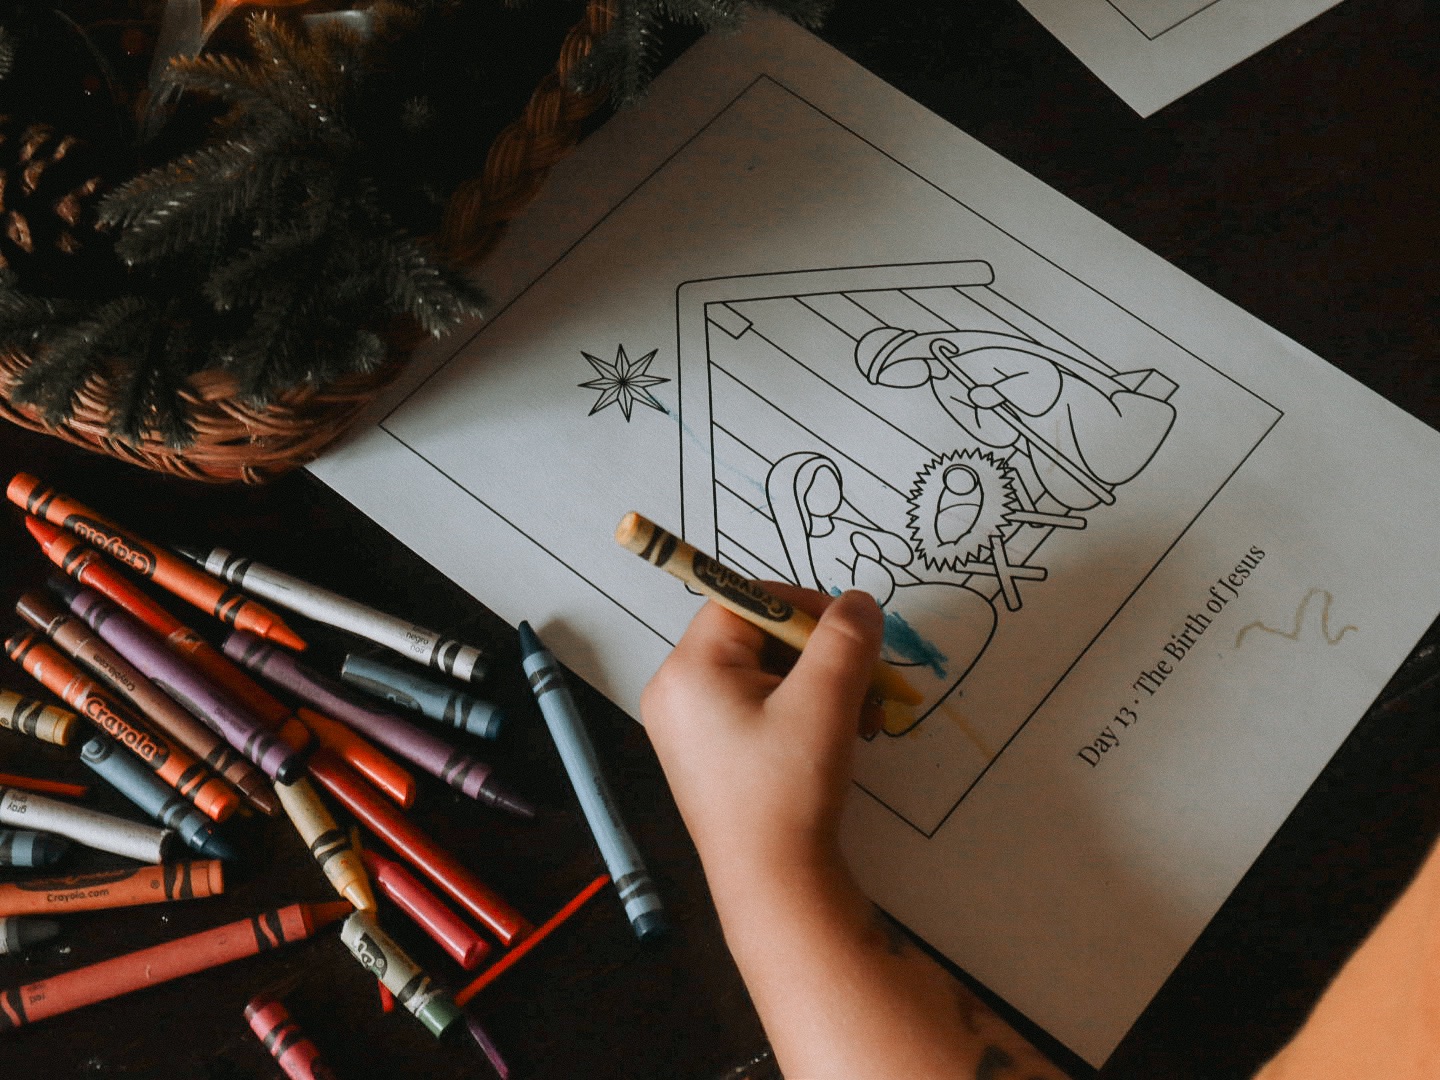
I’ve expanded our little Nativity Advent calendar! The DIY Nativity Advent Kit: Expanded Edition adds 24 days of Scripture-based readings, questions for two age groups, simple optional activities, and six full-size coloring pages to help you walk through the Christmas story together.
There are two ways to use the printable kit. The Essential Kit includes the illustrated Nativity cards, number cards, assembly instructions, a short Christmas story, and activity lists. The Expanded Edition includes everything in Essential, plus 24 days of Scripture references, daily readings and questions for ages 2–4 and 5–9, optional activities, six coloring pages, and a guide that shows which card goes in each bag.
Compare the Essential Kit and Expanded Edition here.
DIY Advent Nativity Set for Kids: A Hands-On Way to Celebrate the Christmas Story
One thing about me is if I can make it myself, I’m going to. If I can save the money and get the same results, I will. I’ve been on a binge trying to find a way to be intentional about the Christmas story with our boys this year, and after weeks of scrolling and searching, I decided to save the money and just do it myself!
If you’re looking for a fun and meaningful way to engage your kids with the true story of Christmas, this DIY Advent Nativity Set is the perfect activity! With just a few simple supplies and my printable advent nativity cards and story, you can create a beautiful daily countdown to Christmas that helps little ones connect with the birth of Jesus in an interactive way.
What You’ll Need
Below is a list of what you’ll need to create this advent set. I’ve included links to save you time!
Card stock: Durable and perfect for printing your nativity cards.
Scissors: To cut everything out!
Mini paper bags: These are the perfect size for each day’s card.
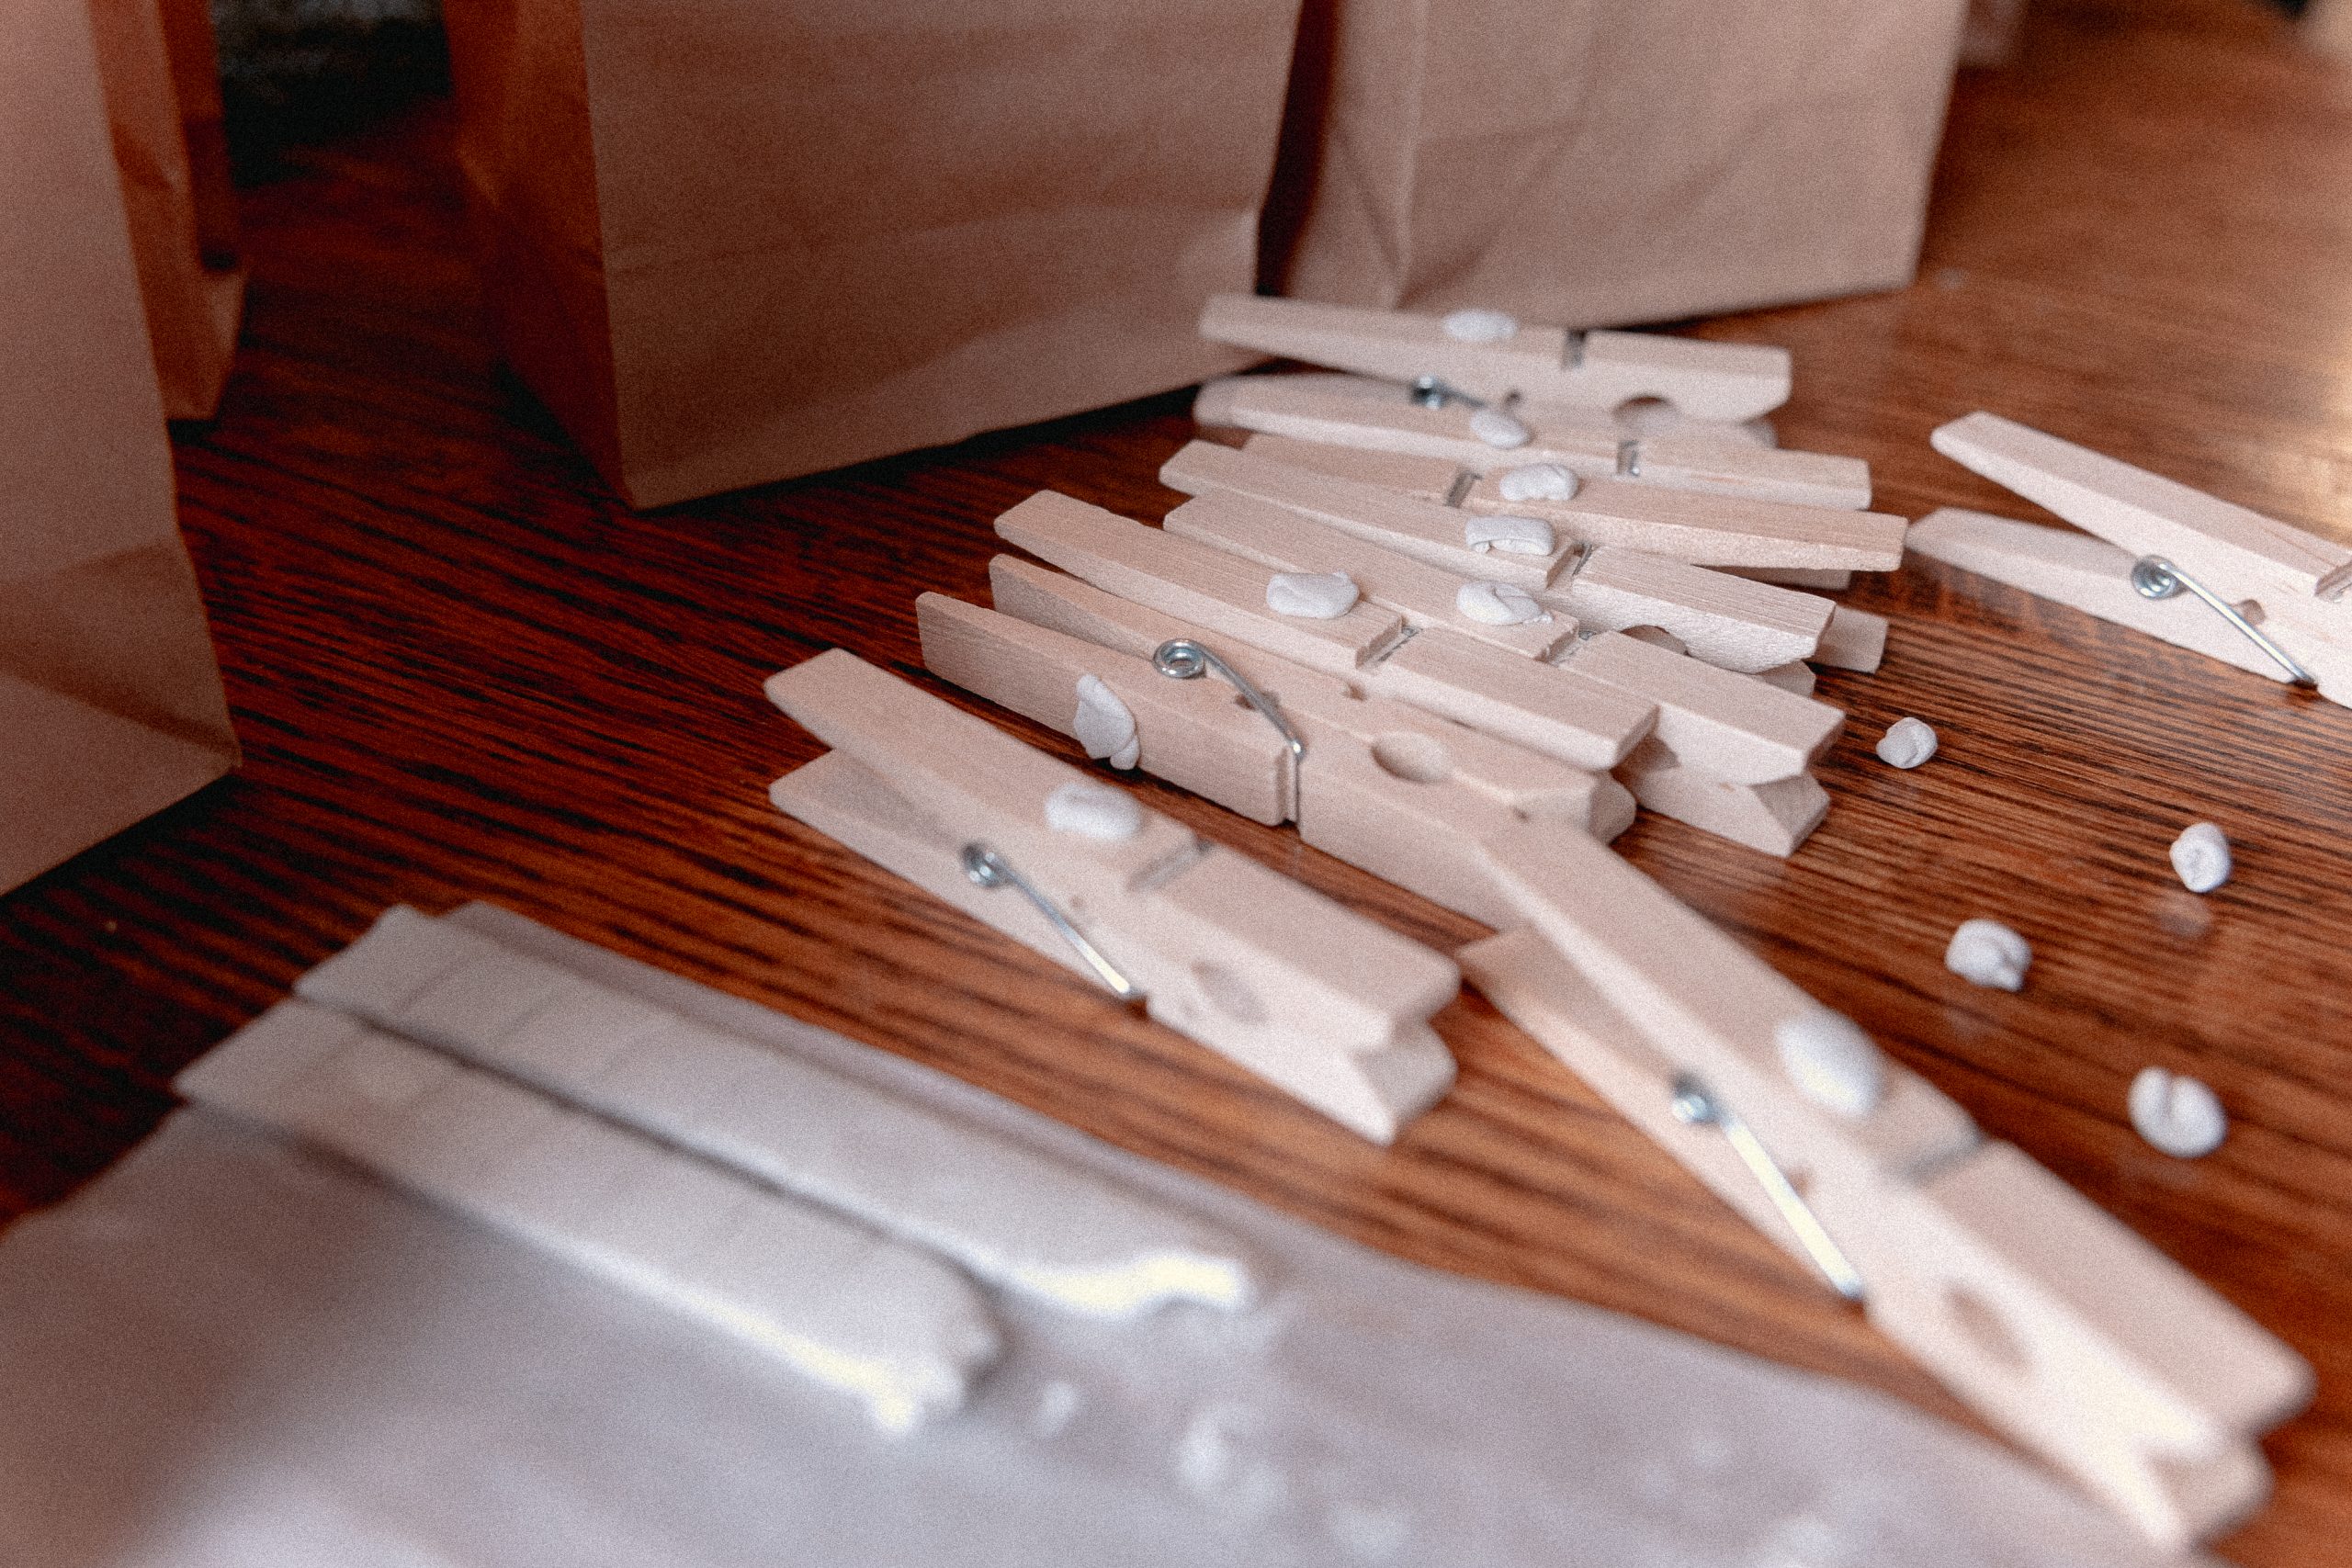
Clothes pins: To hang the bags on the wall.
Poster putty: Gentle on walls for hanging your clothespins OR use Command Velcro strips for a sturdier hold.
My printable Nativity Advent Kit: Choose Essential for the original card-and-bag countdown or Expanded for the daily Scripture readings, questions, and activities. You can also make your own cards.
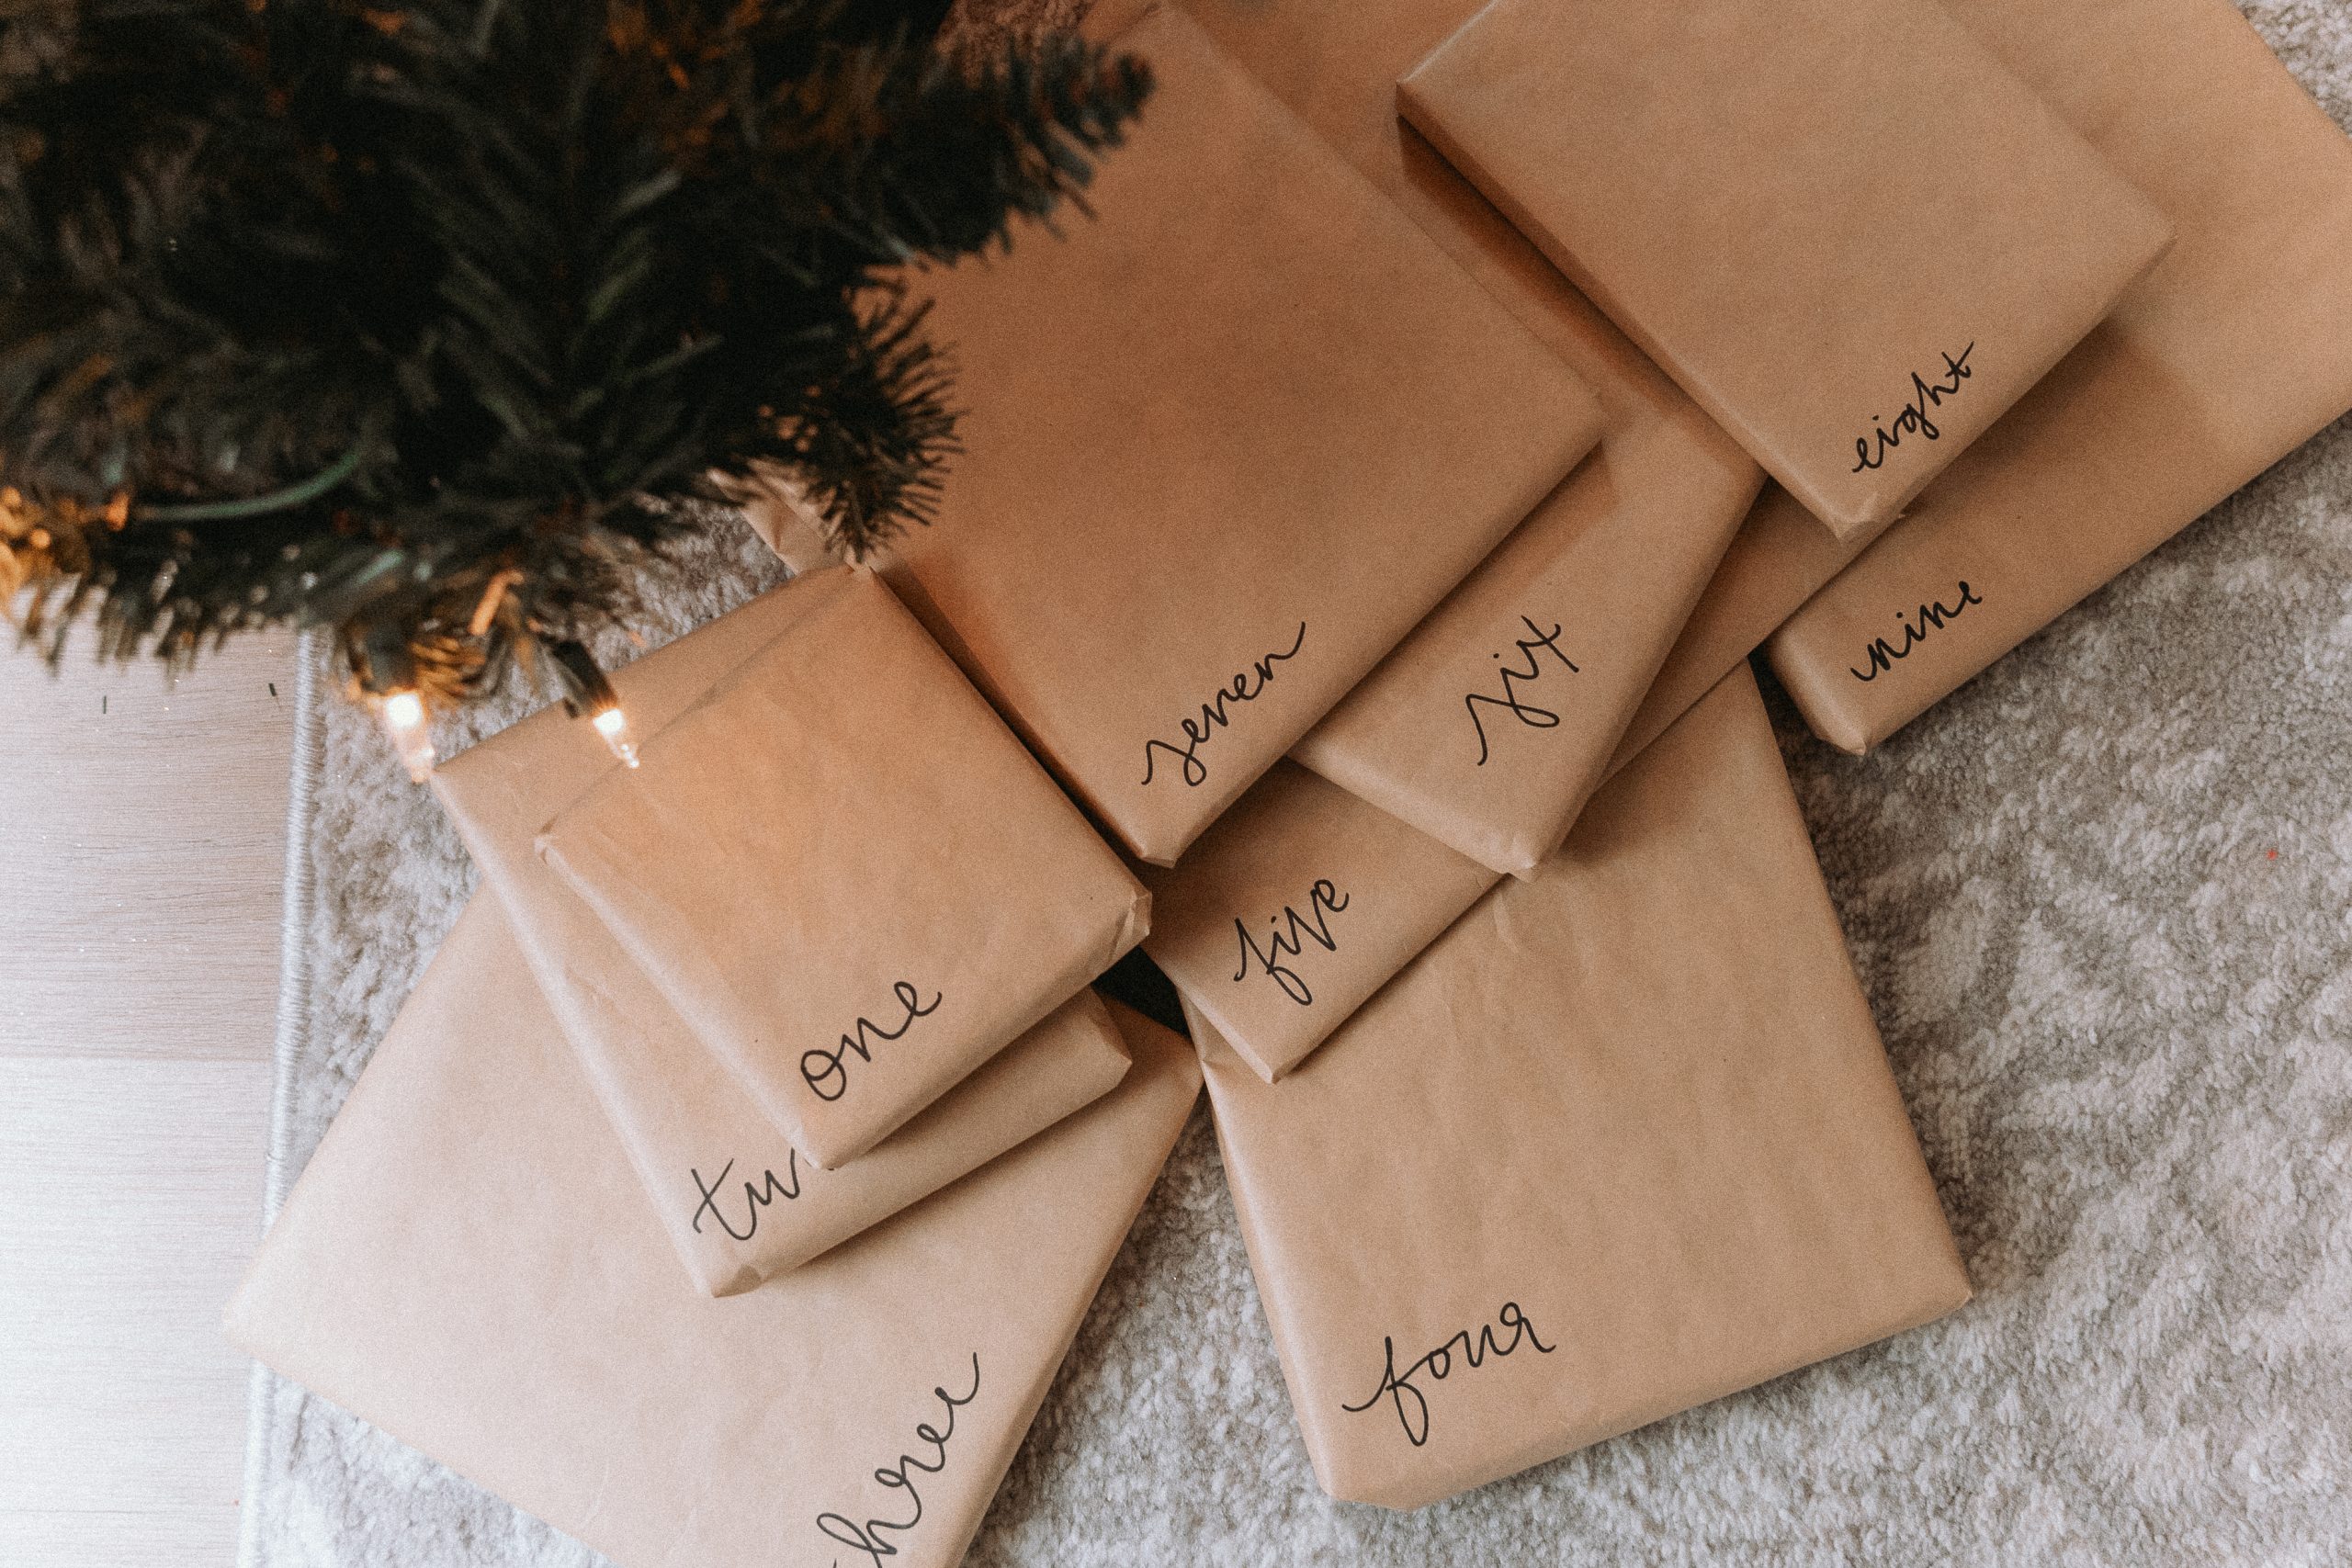
Coordinating gifts or activities: These are numbered gifts (1-24) that coordinate with the numbered cards in my printable kit. We wrap up Christmas books (thrifted to save money, or use ones we already own!) and read one each day, but you could also have a numbered activity sheet (included in the printable kit!) and do a different activity or craft each day.
Optional:
Laminator: If you want your cards to last longer
Laminating sheets: To go with the laminator
Cutting tool: For precise edges on your cards
Setup: Step-by-Step Instructions
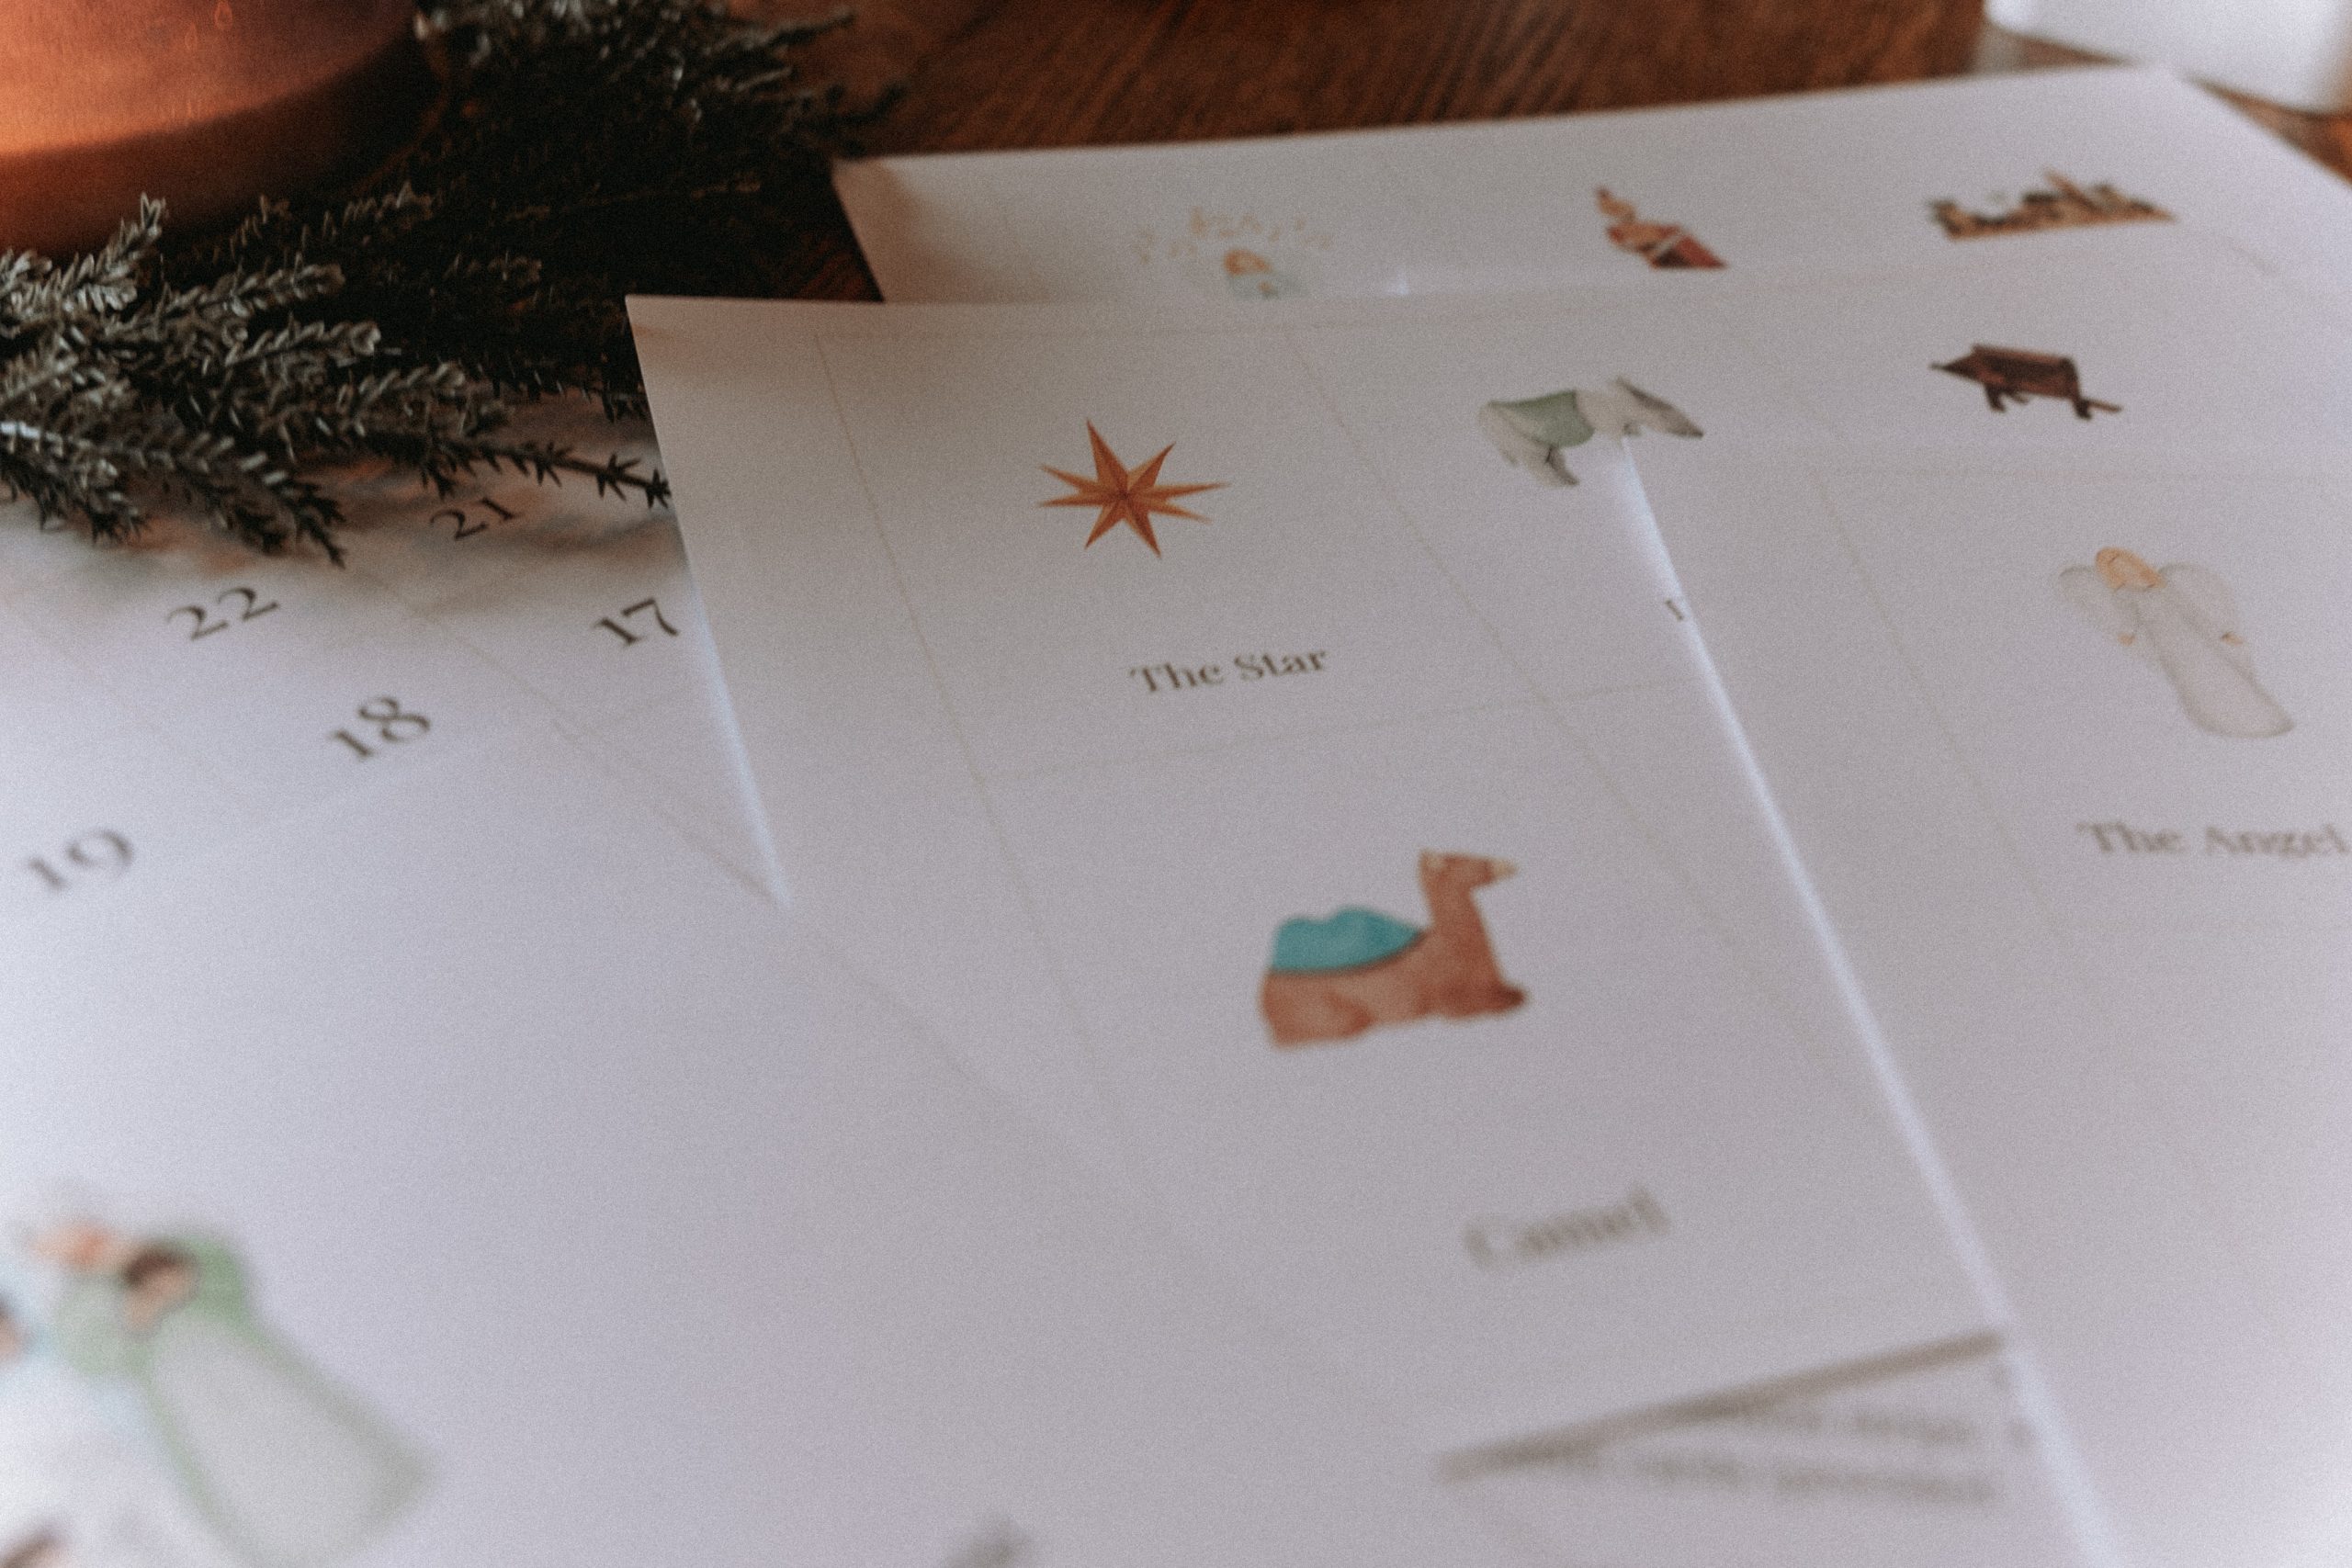
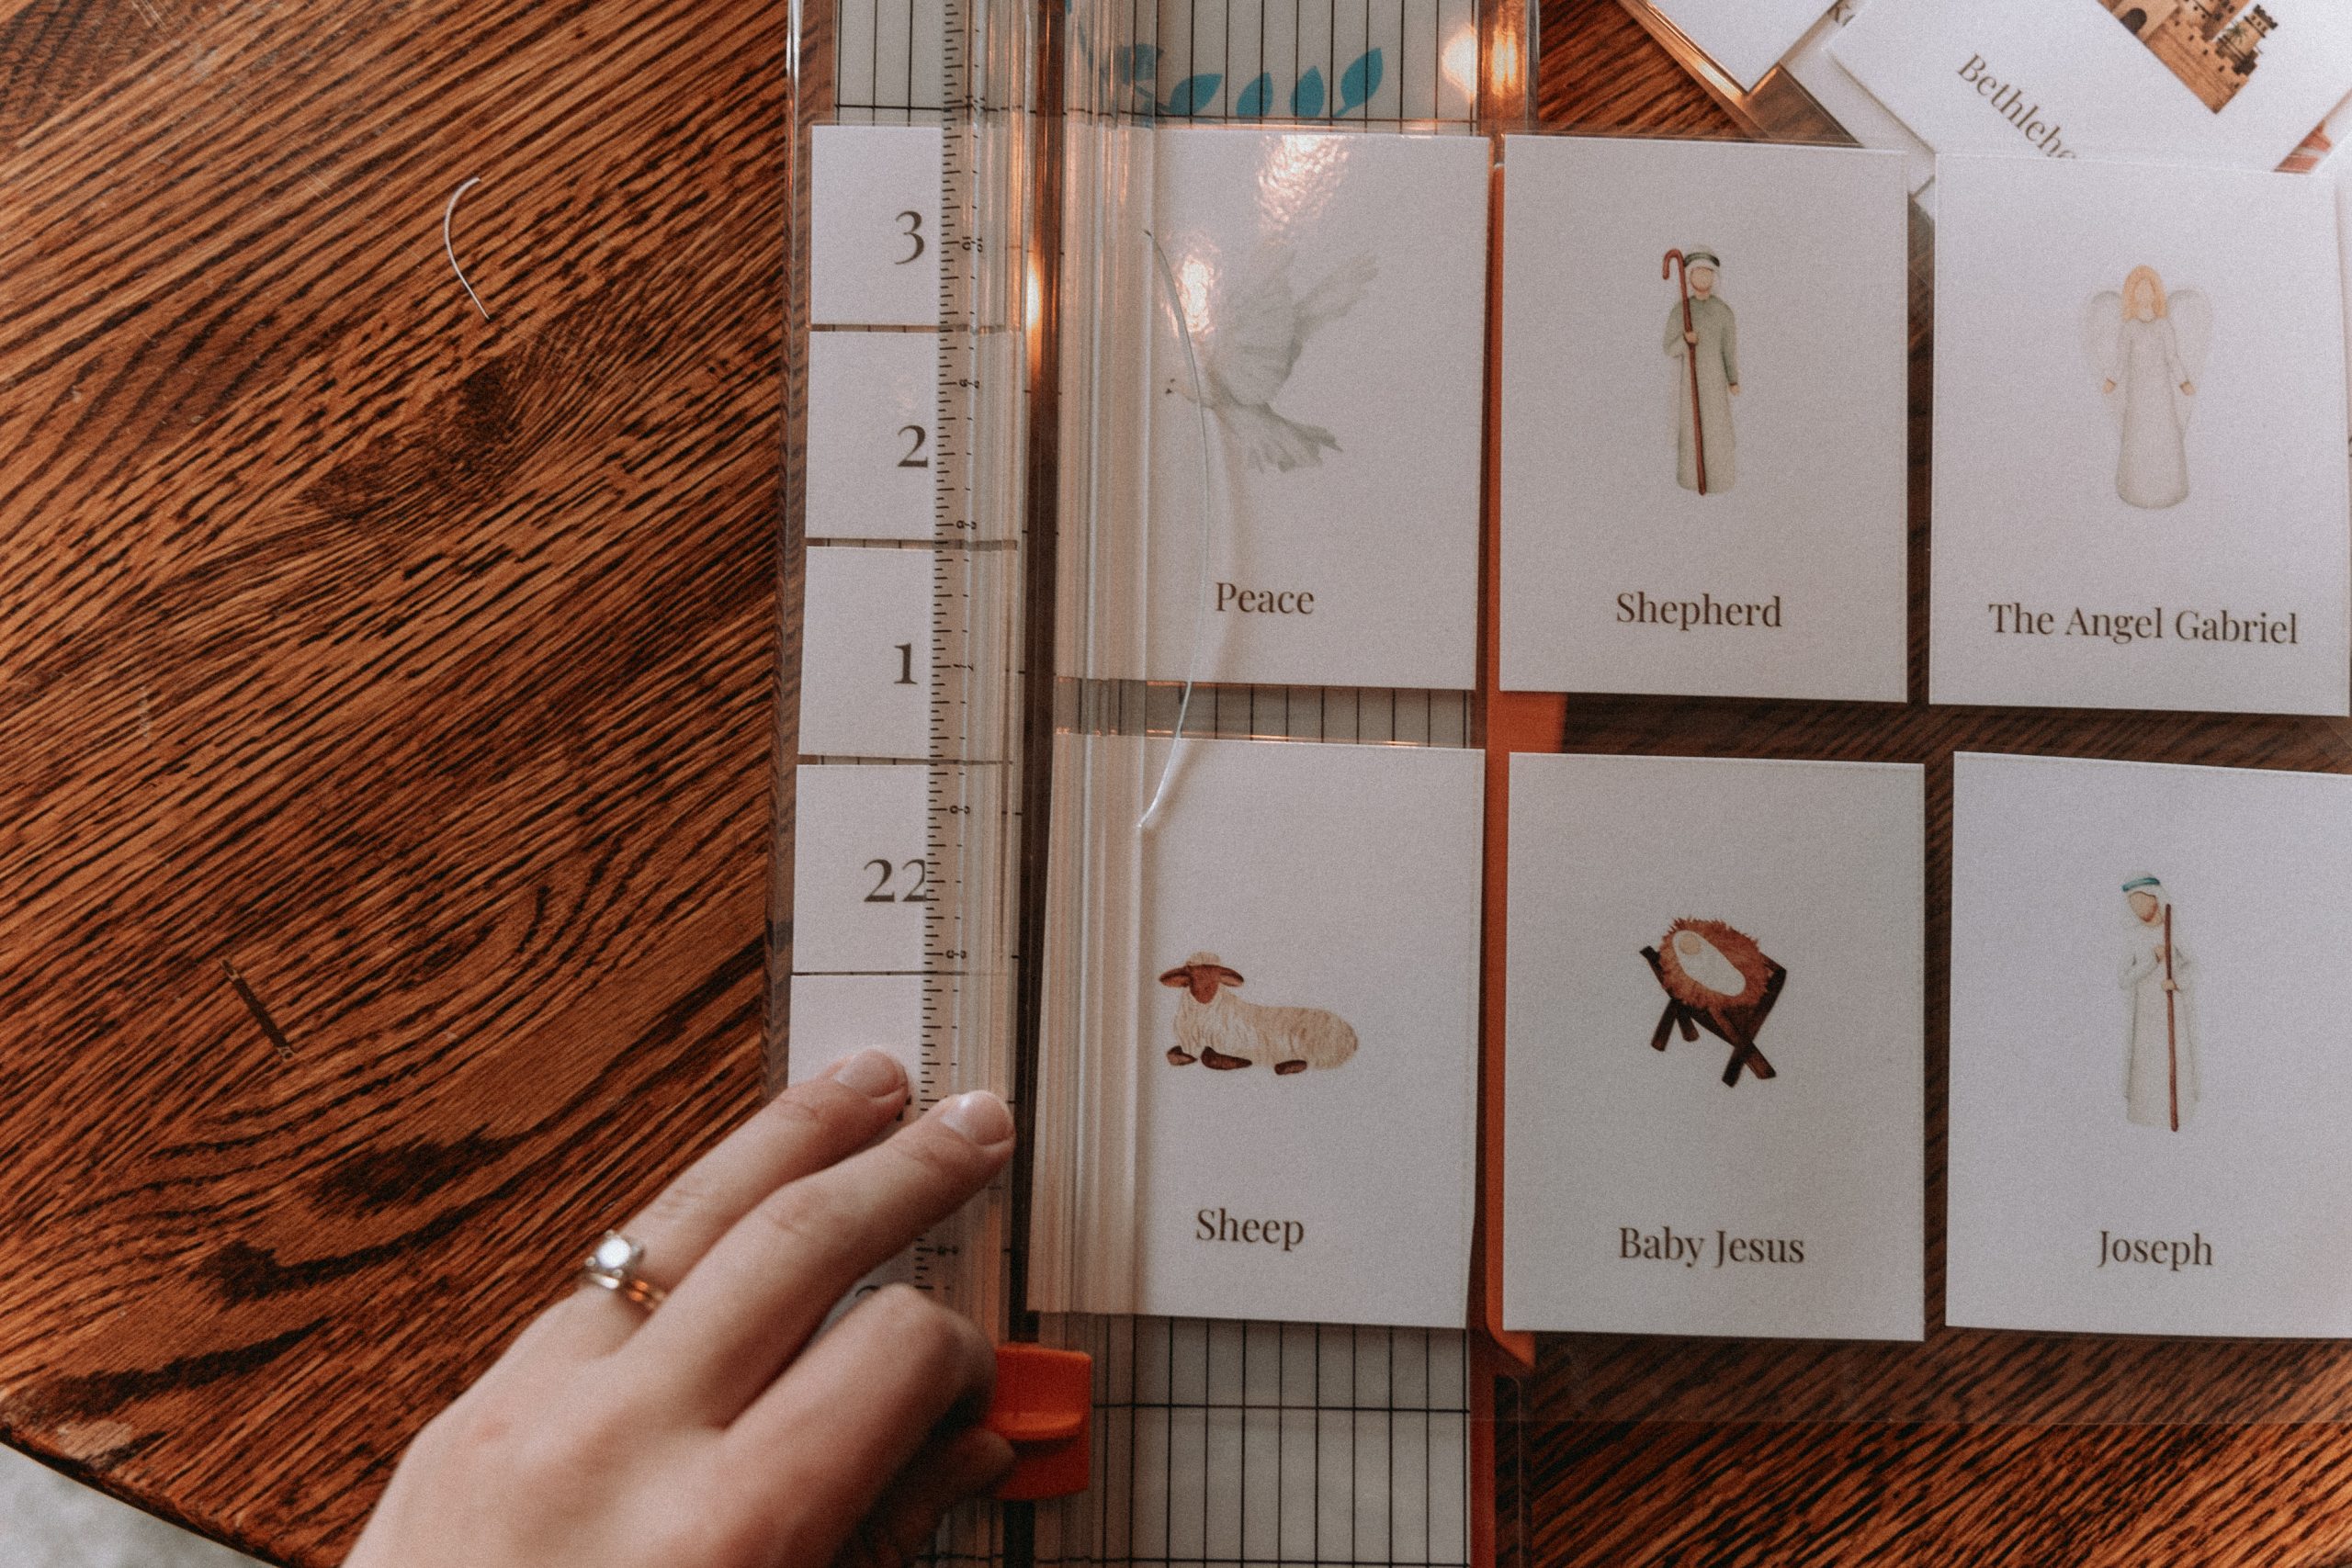
Print the nativity cards
on card stock for durability, and then cut out each card. This file is set up to be printed double sided (make sure it’s set to flip on the short edge!).You’ll also want to print the Christmas story page, the number cards, and the activity sheet if you are opting for that instead of gifts. I laminate everything for longevity!
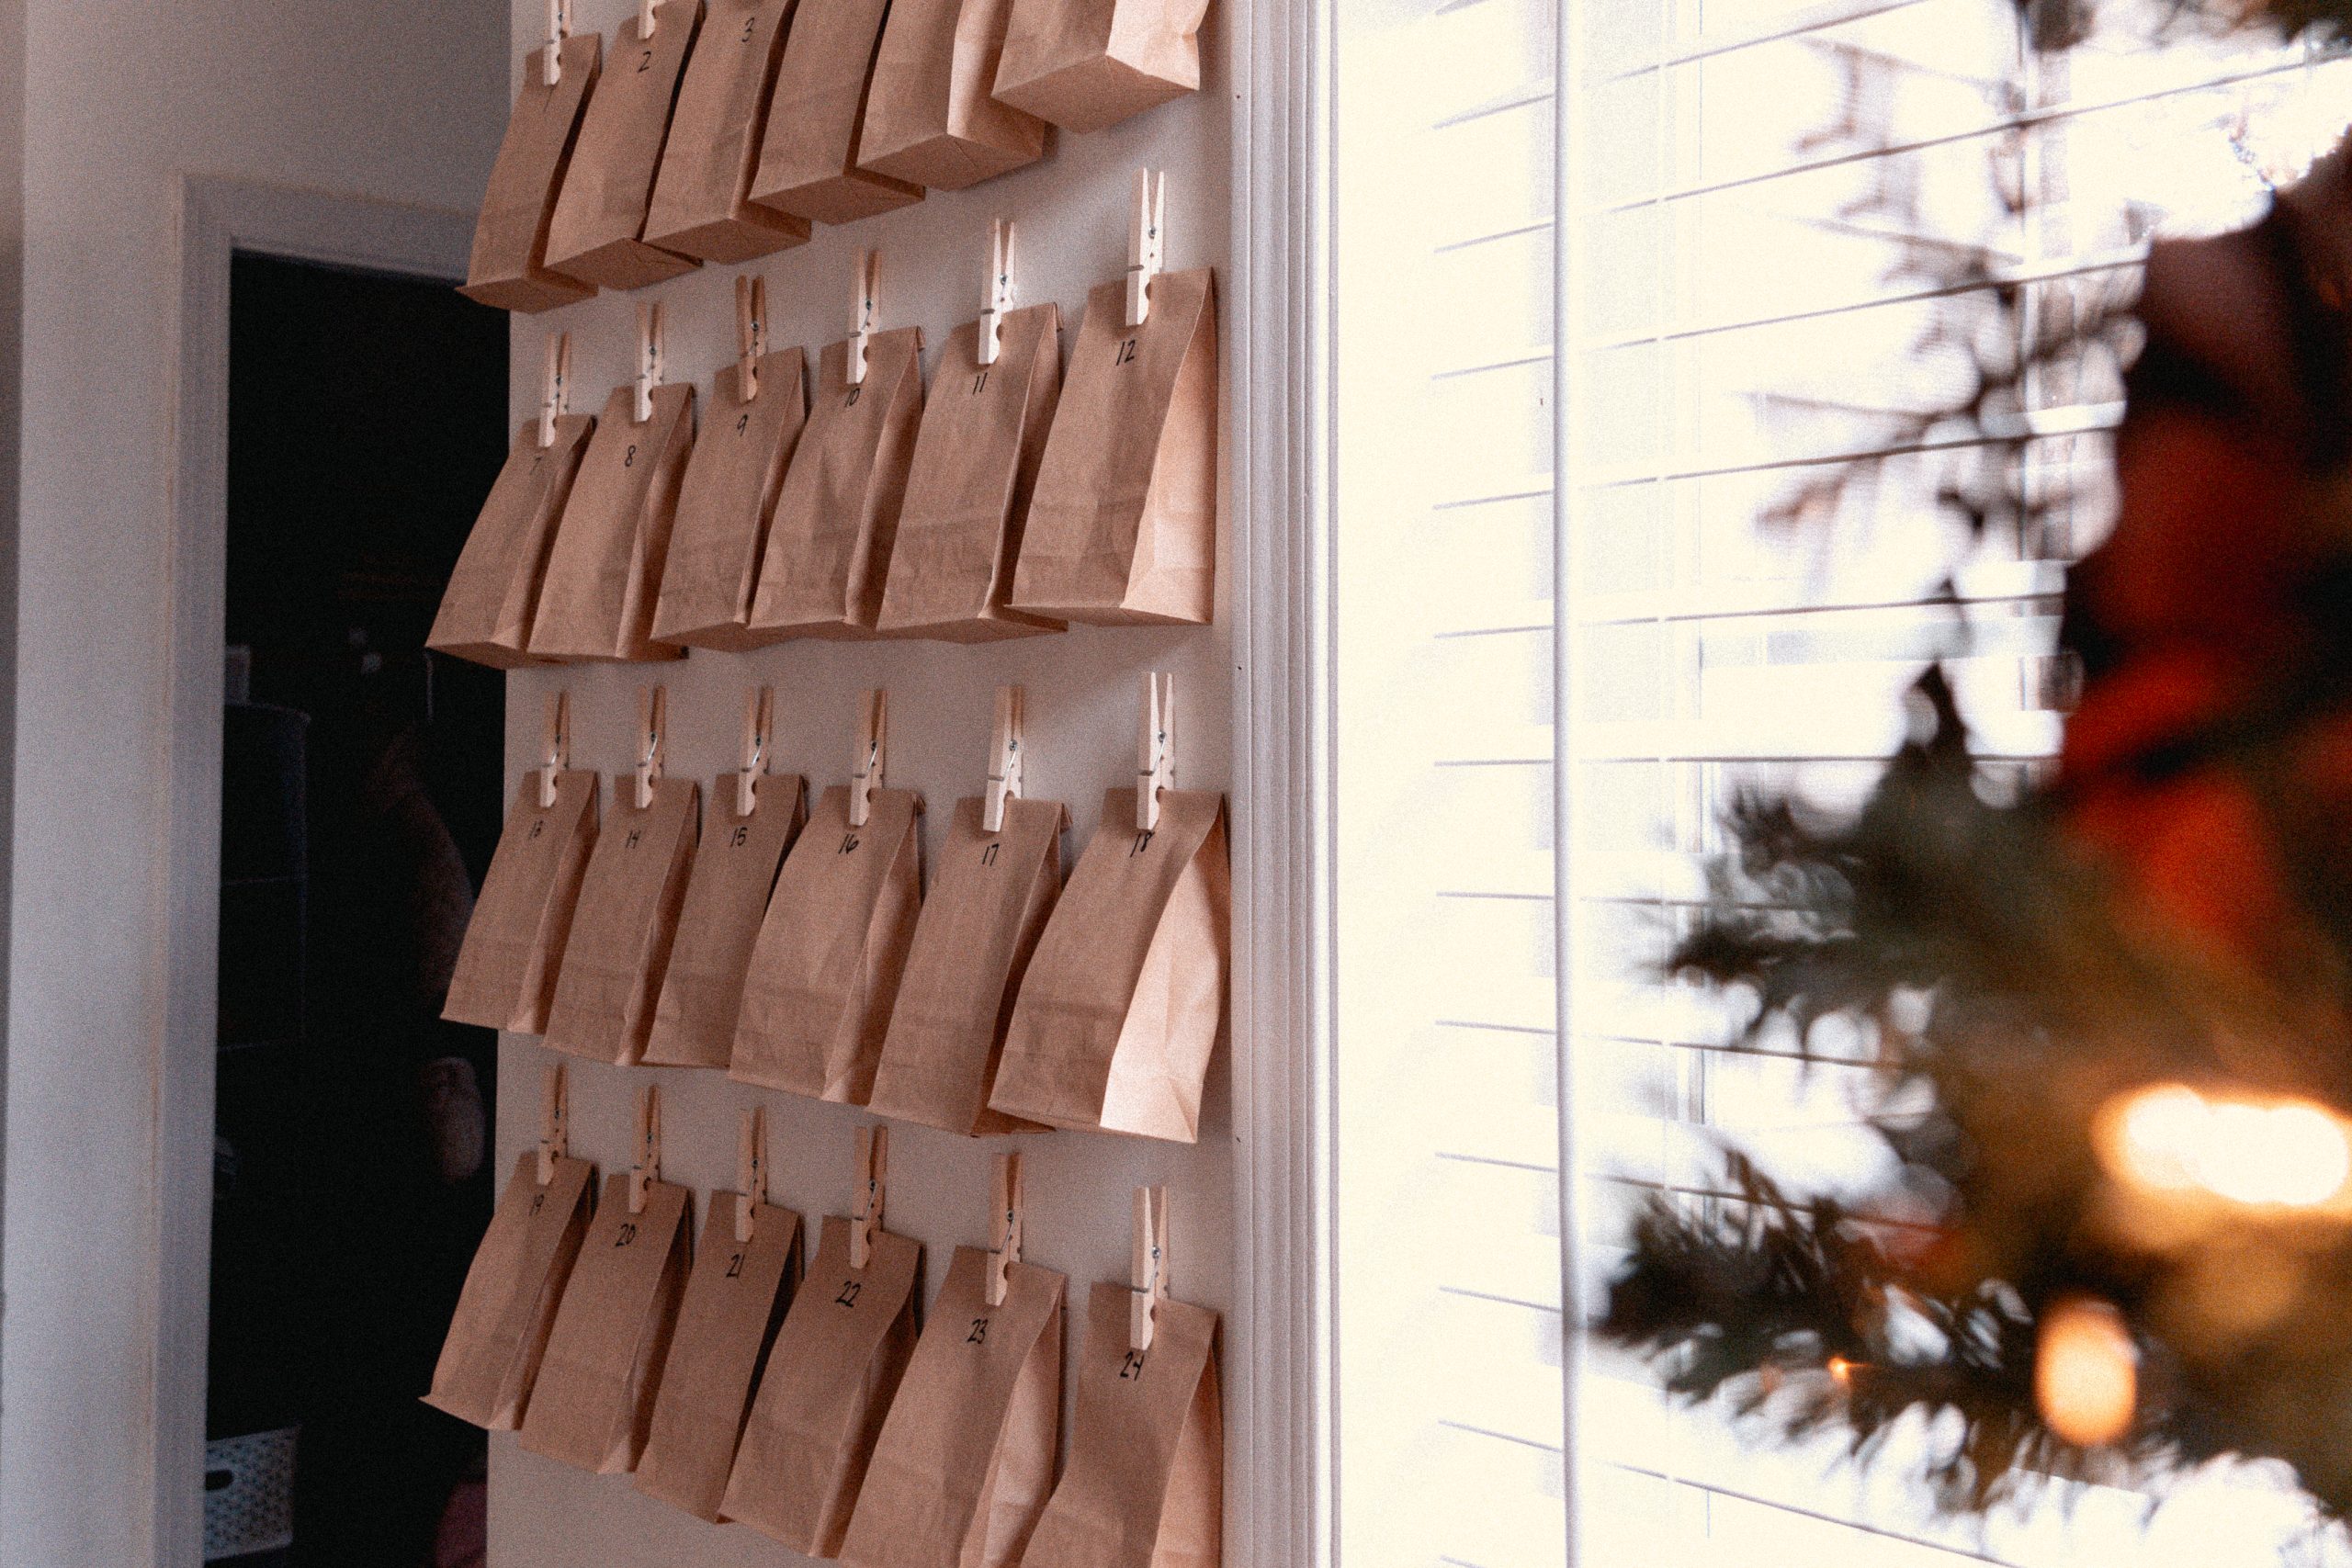
Label your paper bags by writing a number for each day. You can simply handwrite, or you could use stickers or a Cricut to create custom labels for them.
Place one card and one number inside each paper bag. In the original kit, the card order can be mixed up. For the Expanded Edition, place the Nativity cards in their assigned numbered bags so they match the daily readings. Optional gift numbers can still be mixed up! Close the bag by folding over the top.
Attach a clothespin to each bag.
Attach the bags to the wall using poster putty or Command strips in a visually appealing arrangement (straight line, tree shape, etc.).
If you’re doing gifts along with the calendar, wrap them and assign each one a number as well. You can also create an activity list (provided in the printable kit!) instead of (or in addition to!) the gifts.
Using the Calendar
On December 1, read the Christmas story with your littles.
Let them open the first day’s bag. Read about the character, item, or place, and talk about its importance to the story. Then clip the card back to the calendar. At the end of the 24 days, you should have a full display of all the cards!
After you’ve read the card, see which number is inside the bag. Open the corresponding numbered gift (or if you choose the activity list, do the activity!)
Repeat for all 24 days!

This activity isn’t just about counting down to Christmas—it’s about slowing down and focusing on what truly matters. Each card teaches kids about an important part of the nativity story, helping them understand why Jesus’ birth is so special. Plus, the hands-on experience makes learning memorable and fun!
I can’t wait to see your advent nativity sets in action. If you create one, tag me on Instagram and share your photos!