diy lip balm
Alexa Rickenbach4 min read
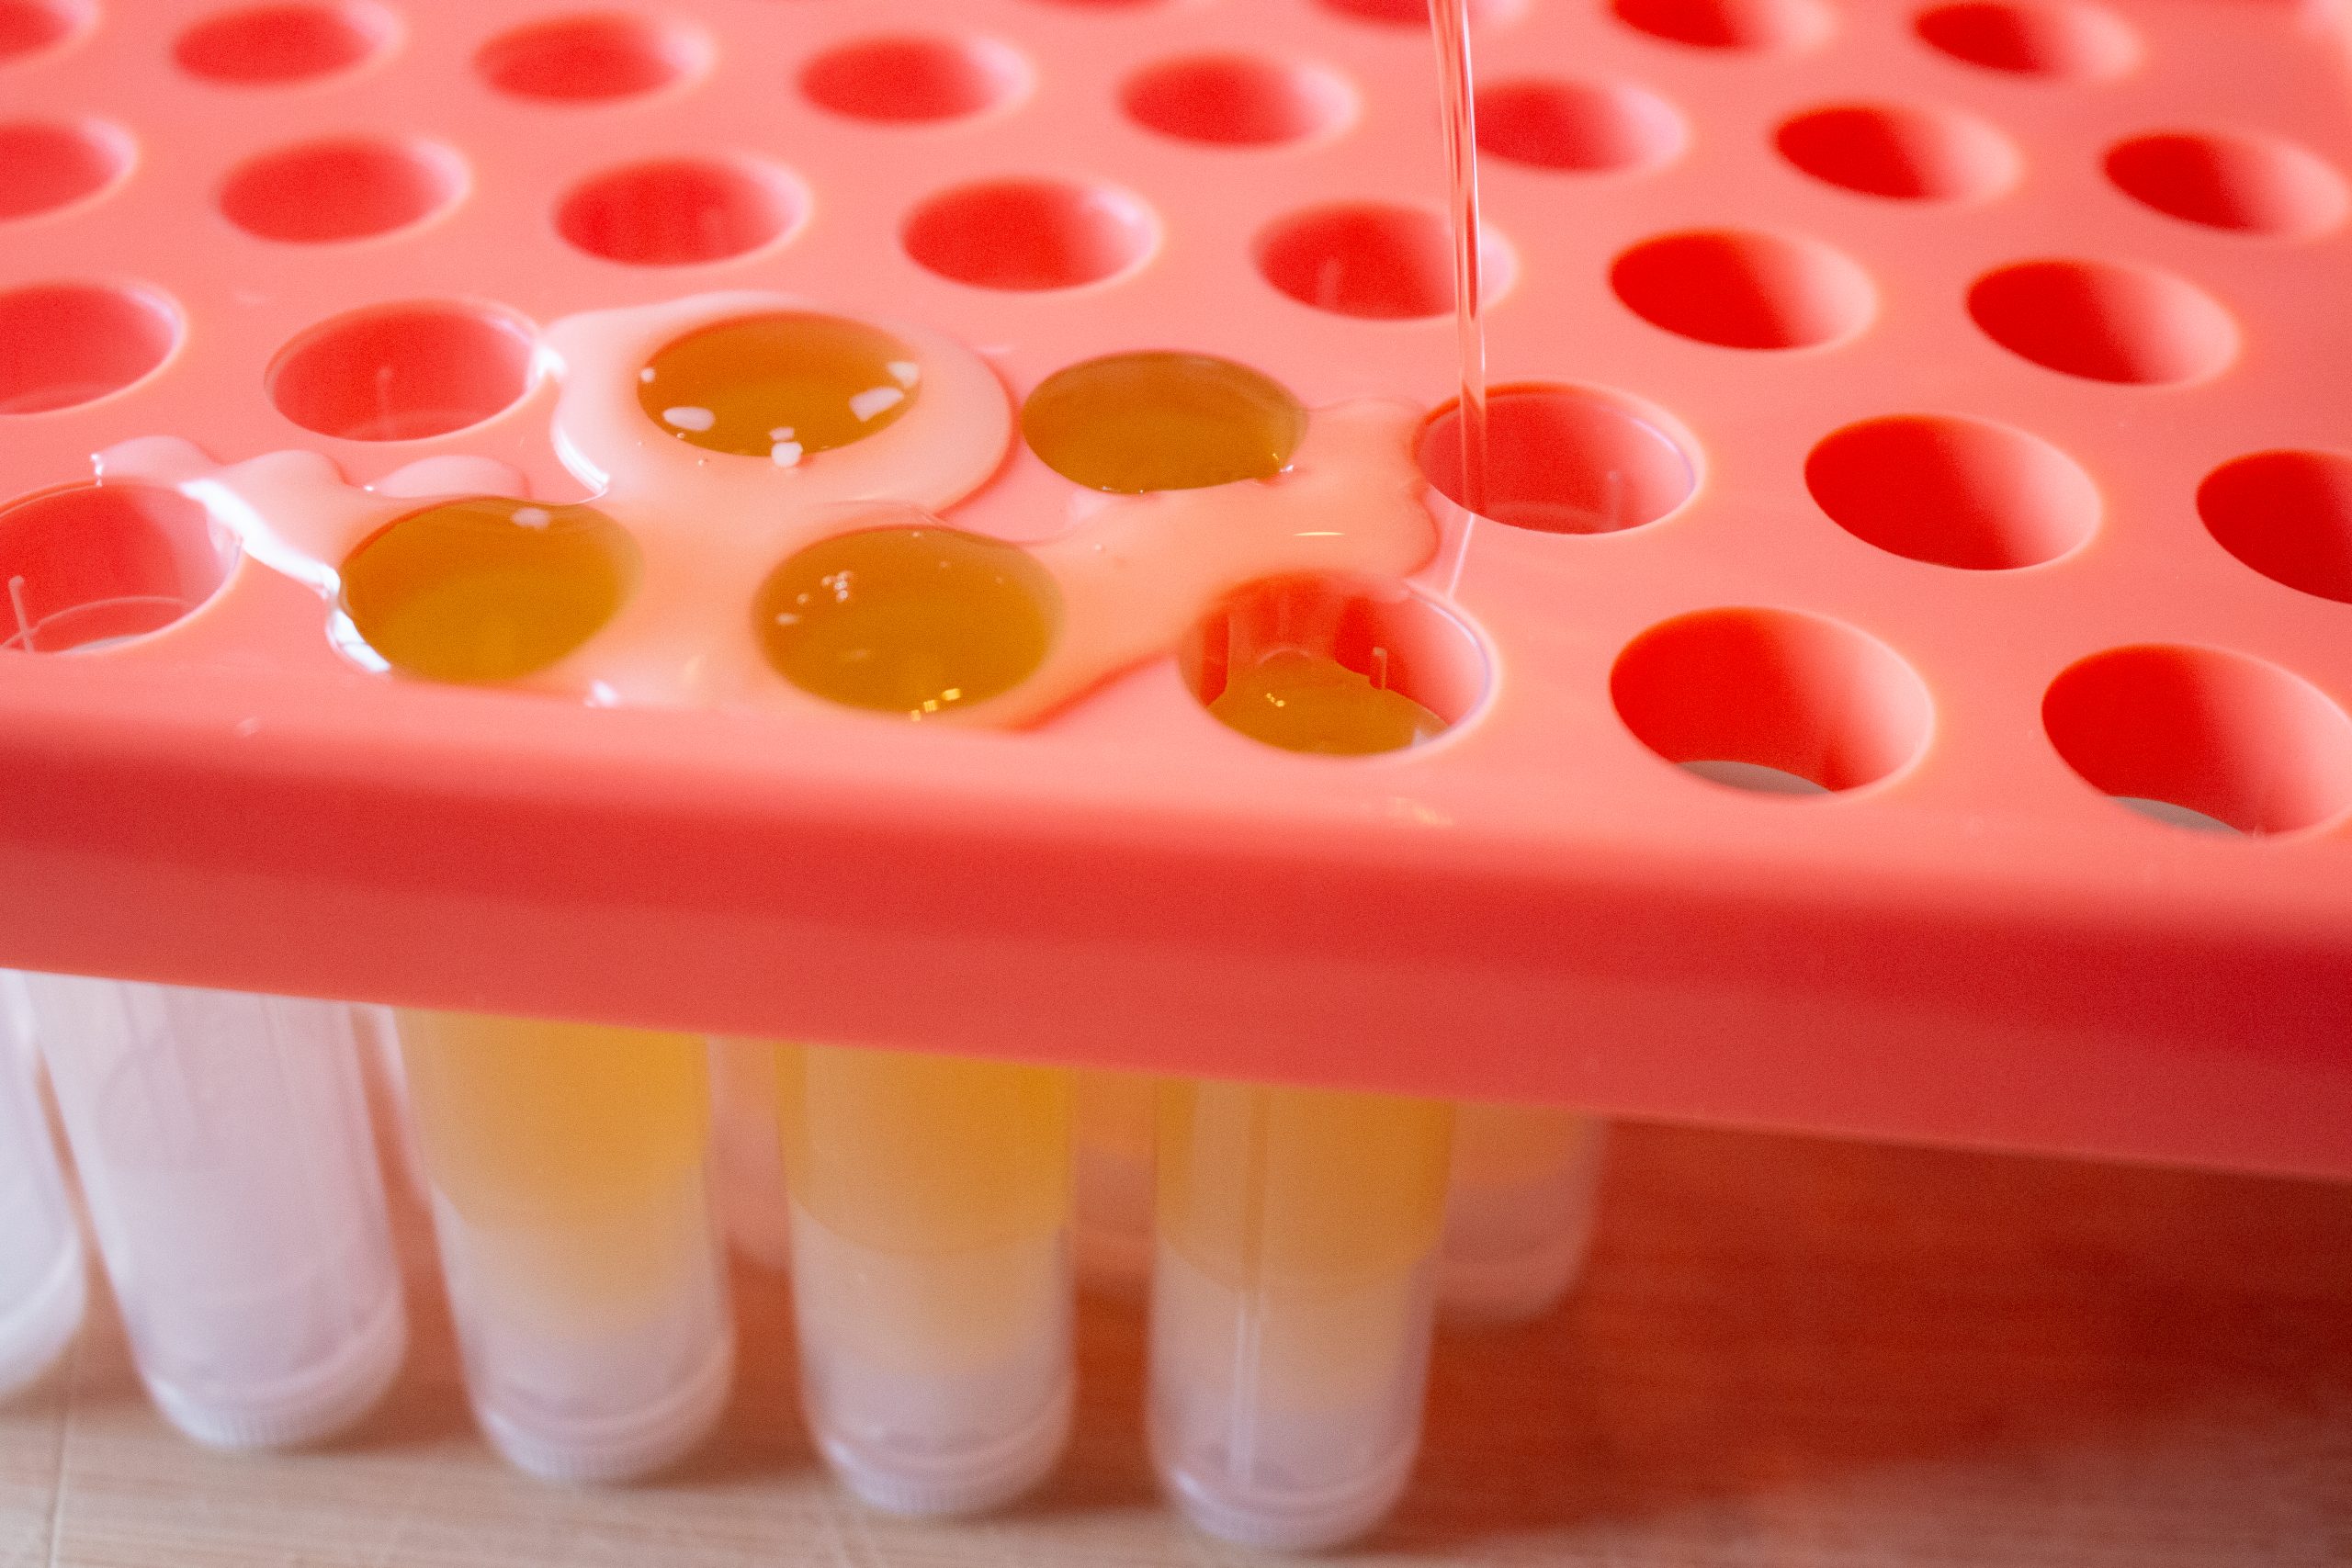
Create Your Own Natural Lip Balm
Lip balm is one of those things that we use all the time. I went on a mission looking for a way to create my own so that I could have a better understanding of what exactly is inside. In my search, I discovered Simply Earth and their DIY kits…and I was immediately hooked. In this post, I’m going to go through the DIY lip balm process using their kit because it’s cost effective and incredible! If you want to straight up make your own, you can find the recipe down at the end of this post!
I’ve been on a kick this year to make as many gifts at home as I can. In case you’ve missed it, I’ve already made a DIY tallow balm & a sweet little homemade play dough recipe that my kids love! I am so excited to share this DIY gift with you! This kit provides everything you need to craft high-quality, natural lip balms right at home.
Here’s why I love it:
All-Inclusive KitThe DIY Lip Balm Kit includes all the materials and ingredients needed to make your own lip balms, saving you time and effort in sourcing supplies.
Natural IngredientsSimply Earth is committed to using pure, toxin-free ingredients. The kit features natural components like beeswax, shea butter, almond oil, and essential oils, ensuring your lip balms are safe and beneficial.
Easy-to-Follow InstructionsWith step-by-step guidance, the kit makes the process simple and accessible, even if you’re new to DIY projects.
Personalized TouchCustomize your lip balms with your favorite essential oil scents, and even create unique labels for a personal touch.
Cost EffectiveThe kit currently costs $49.99 (when published), and it makes FIFTY lip balms. That’s just $1 per lip balm, which is a steal compared to most natural lip balms on the market. Plus fifty lip balms will last me MONTHS…if I don’t lose them all first 🥴
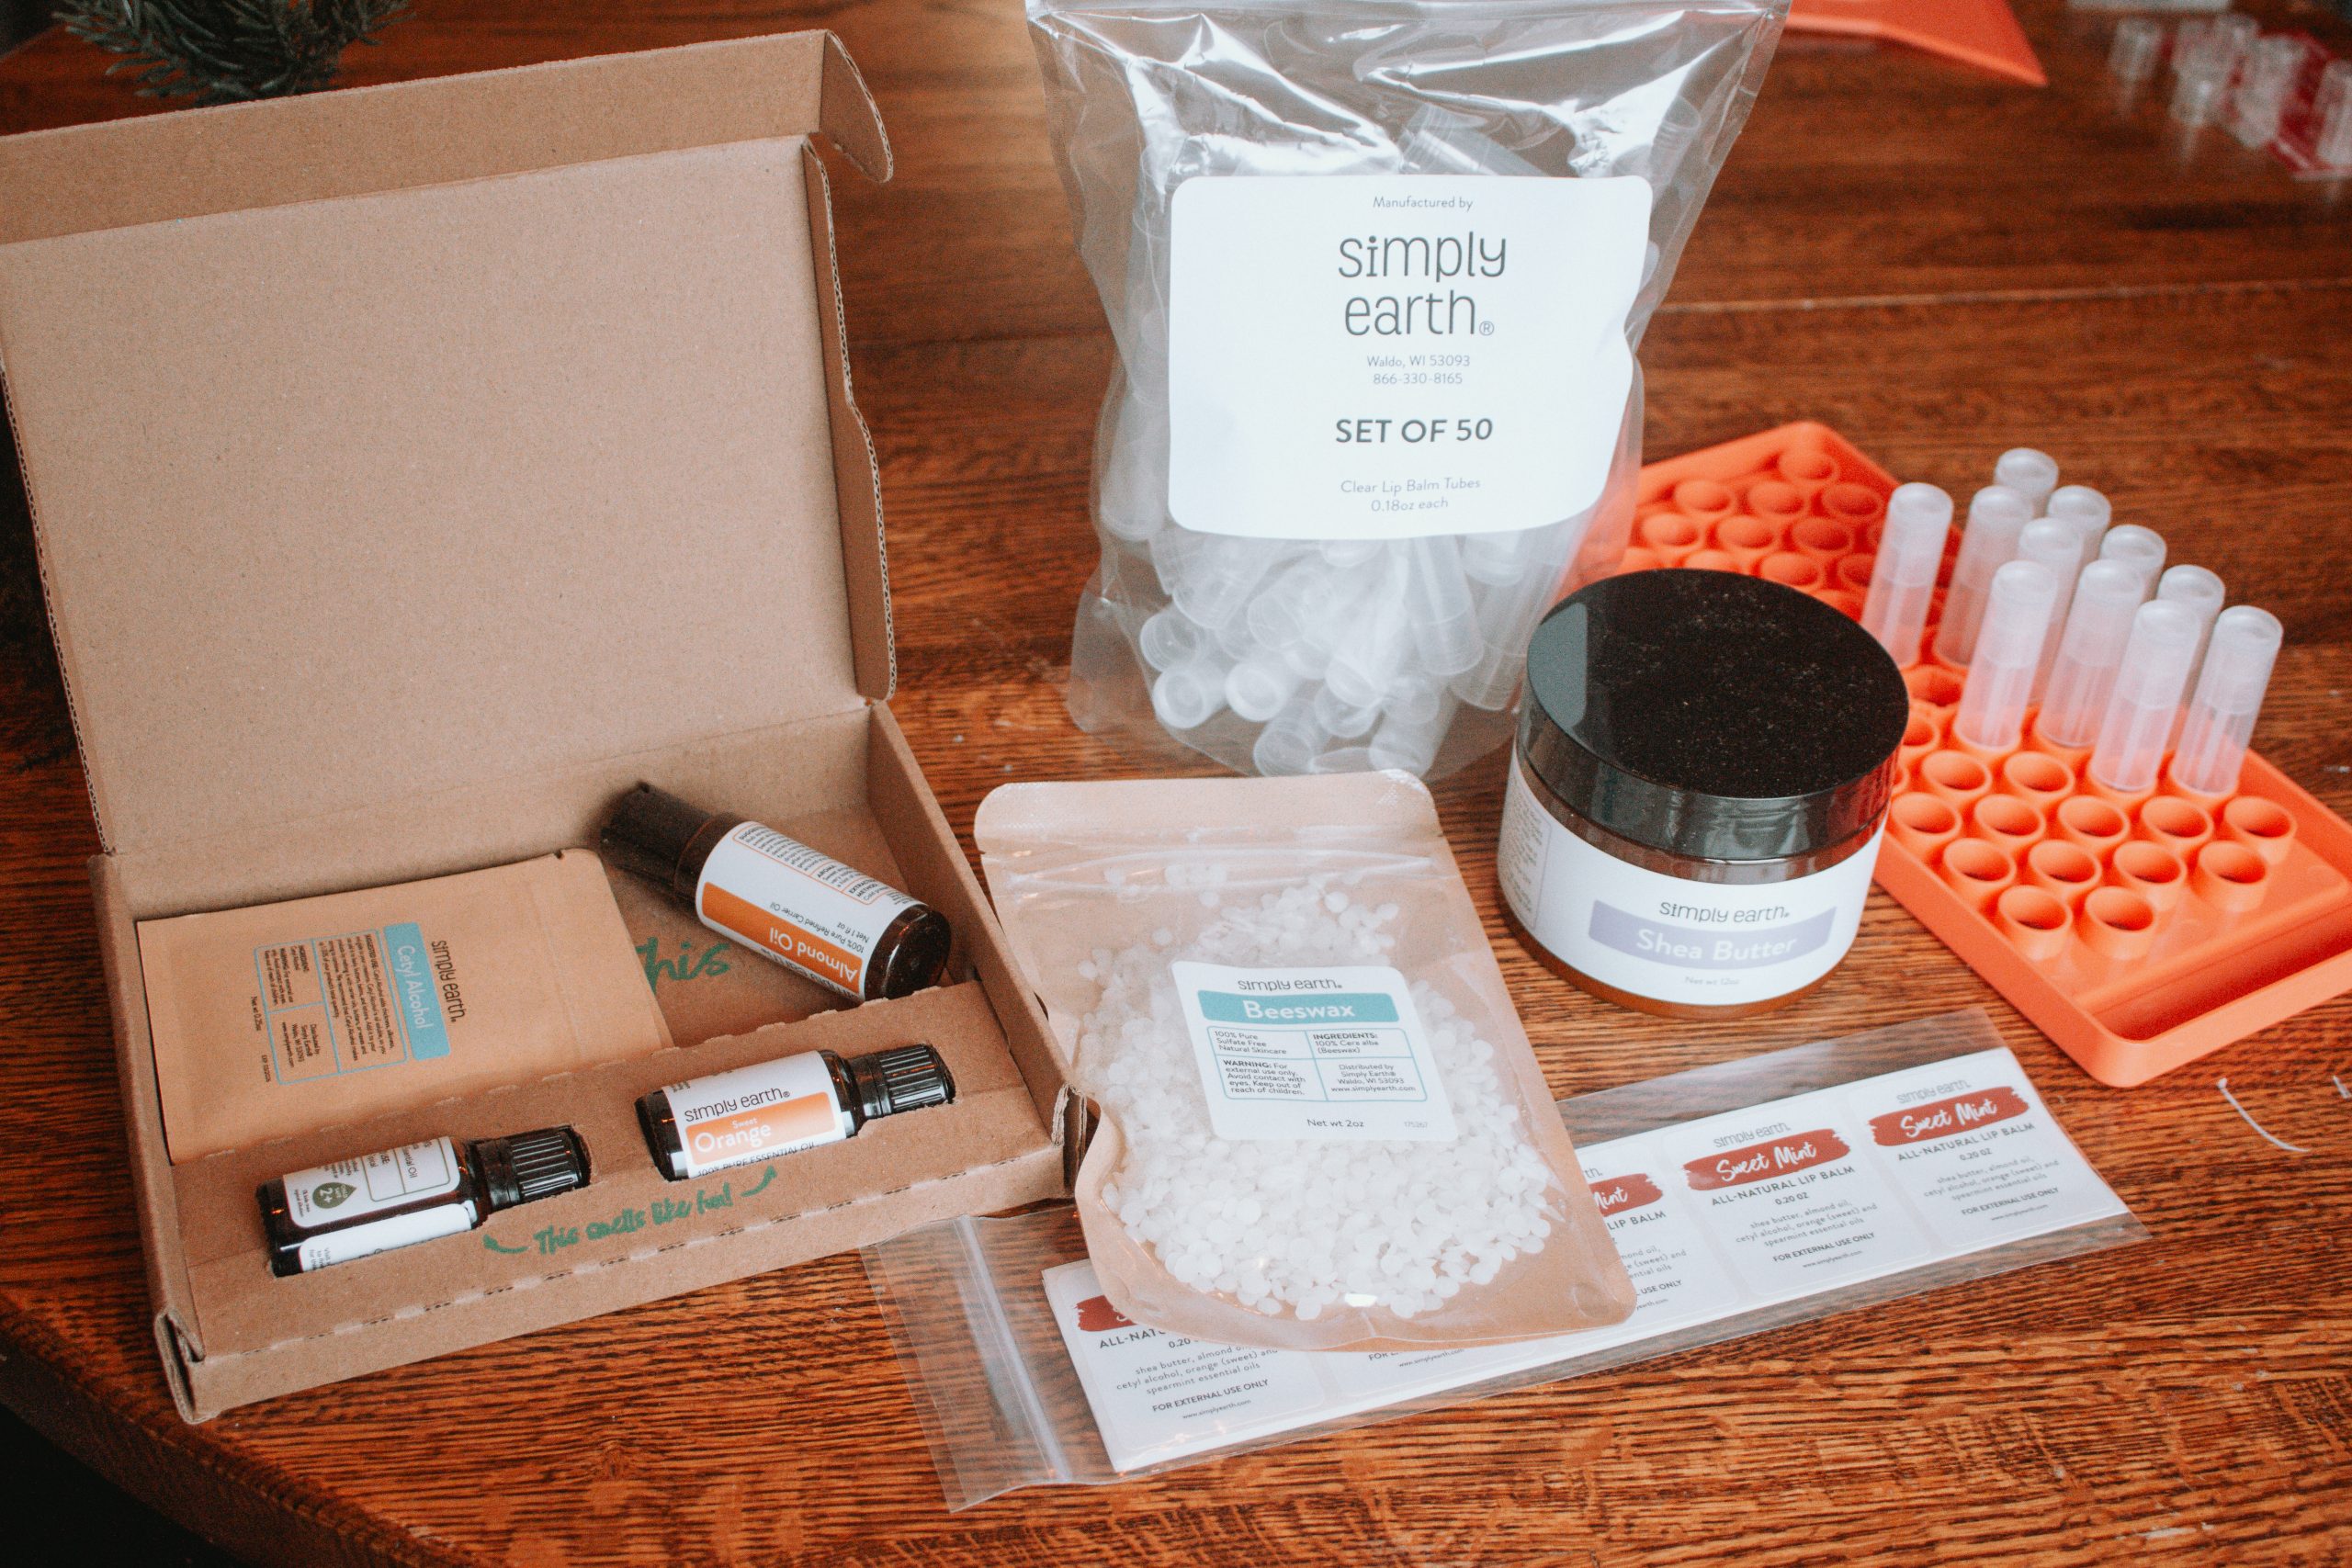
What’s Included in the Kit?
The DIY Lip Balm Kit contains:
Pure essential oils for natural flavoring and aromatherapy benefits
Beeswax pellets for a firm yet smooth texture
Shea butter for deep hydration
Lip balm containers to store your creations
Recipe card with clear instructions
& everything else you need, all in one spot!
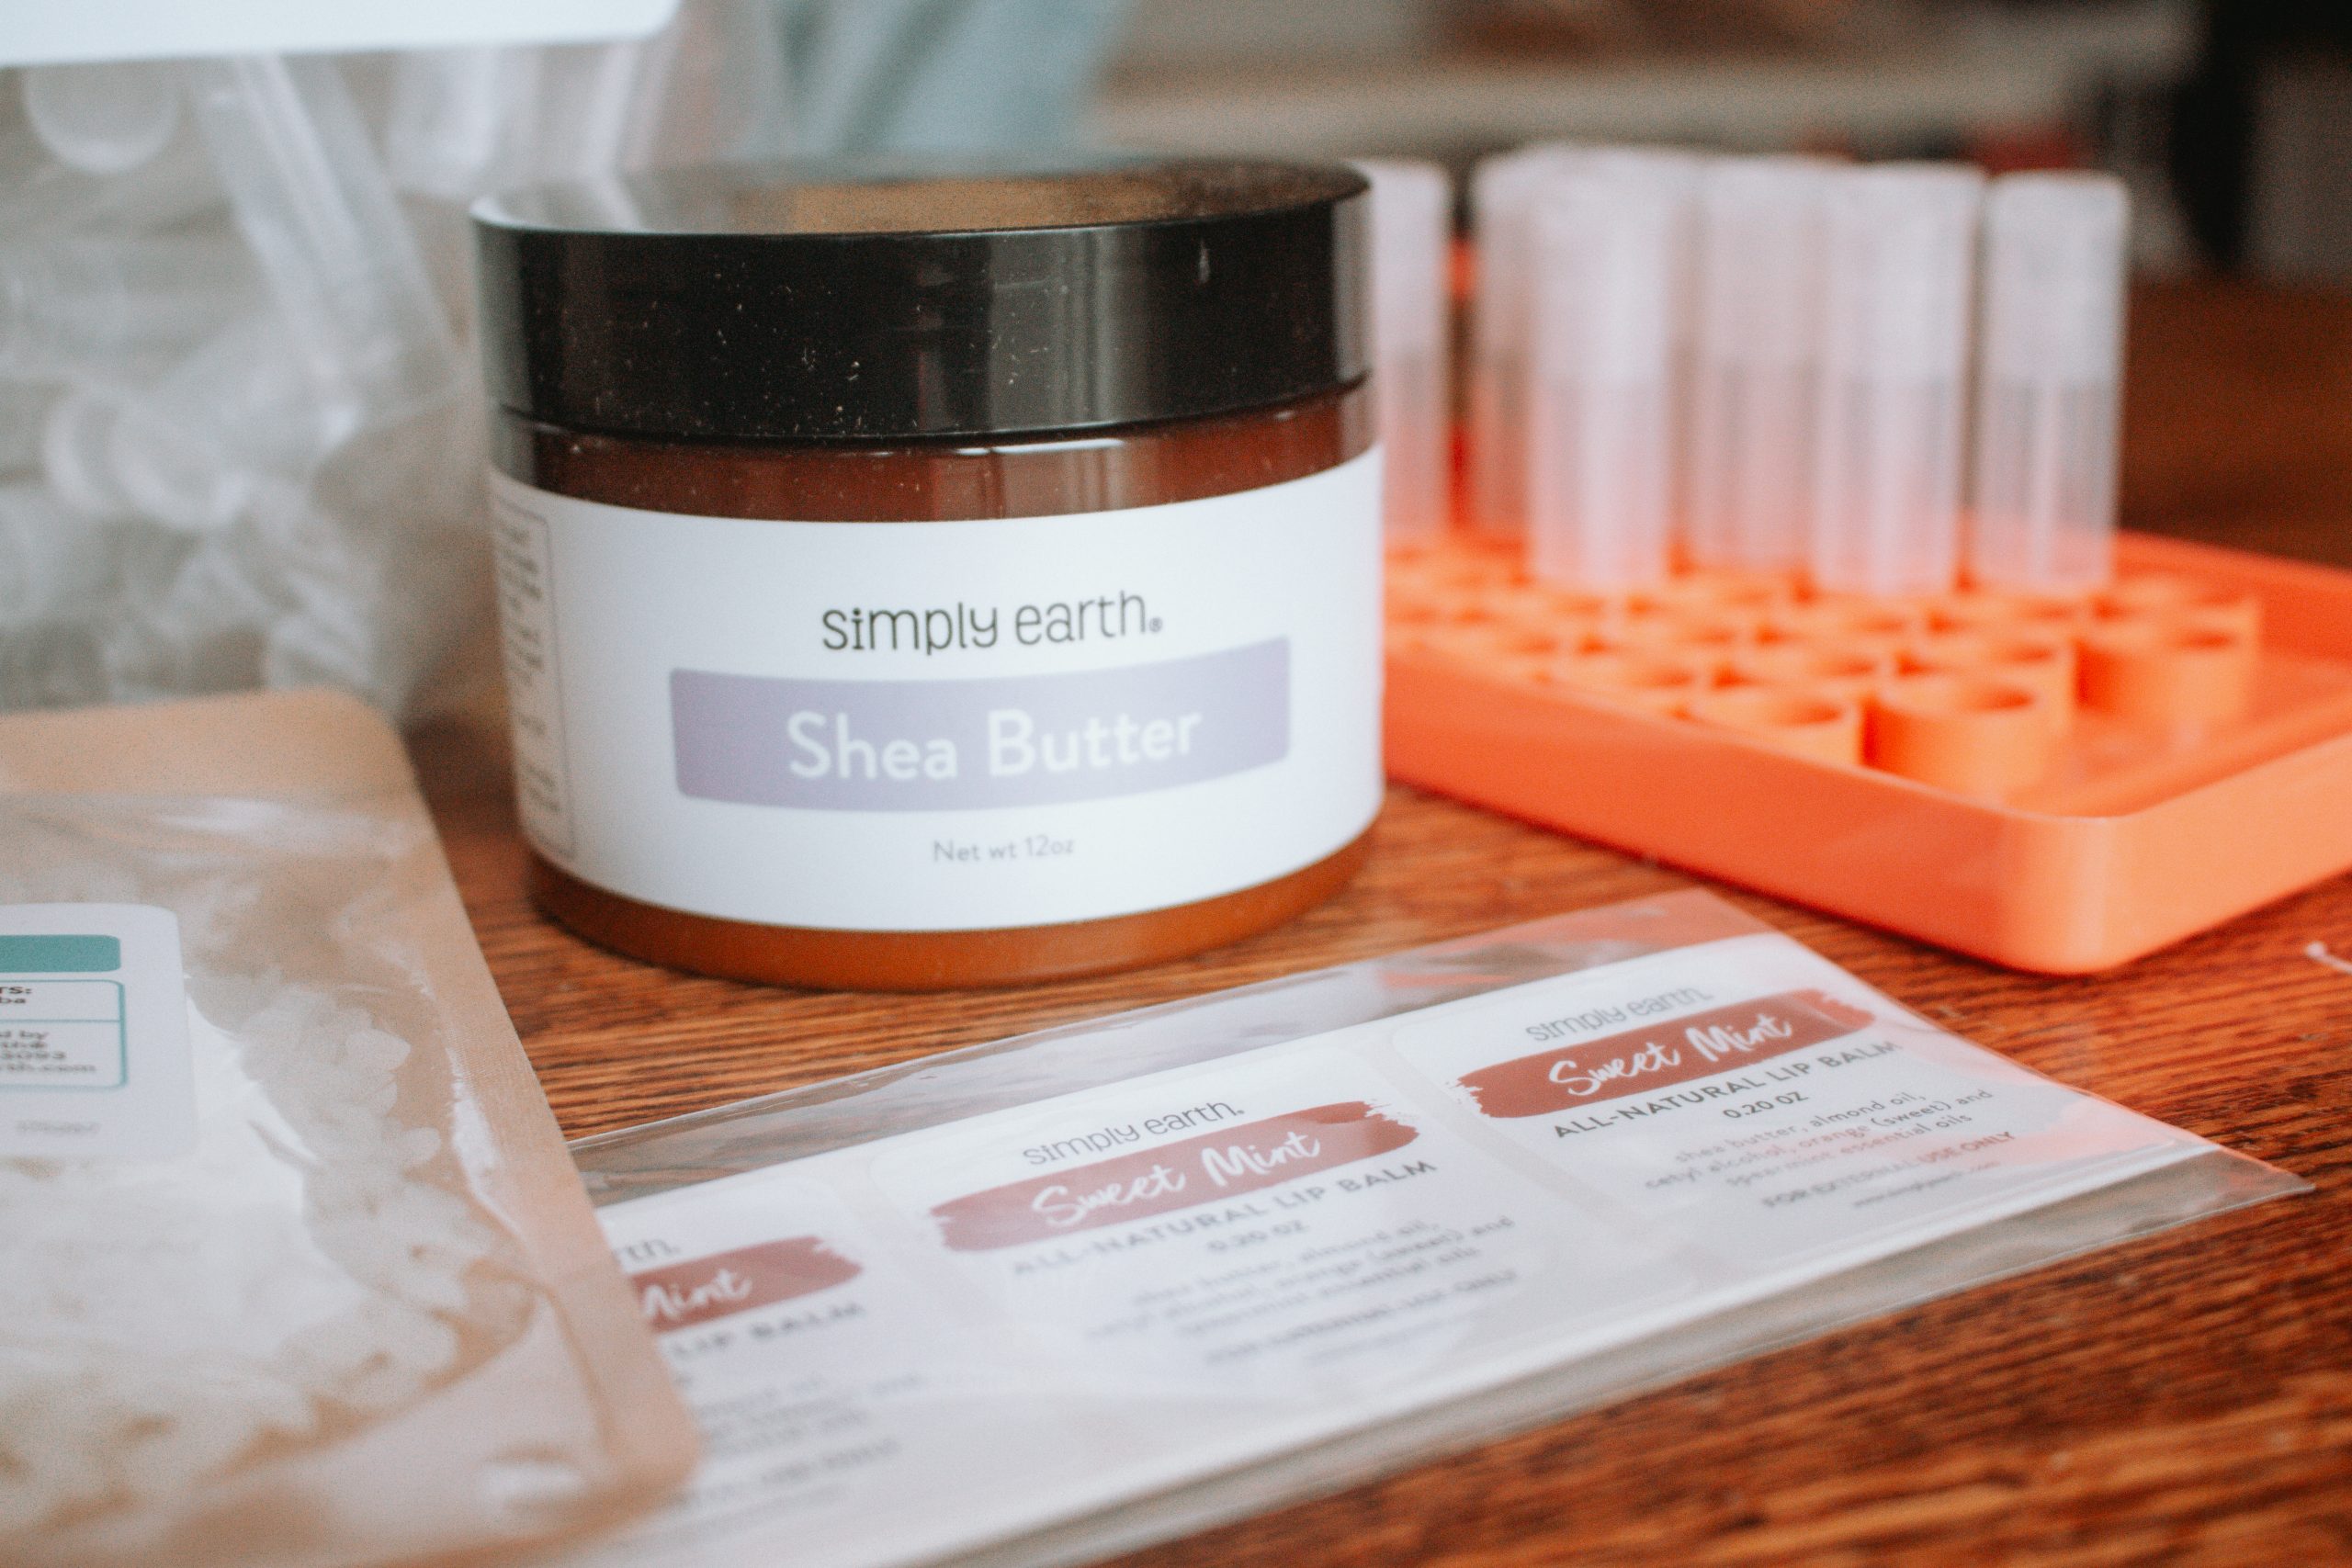
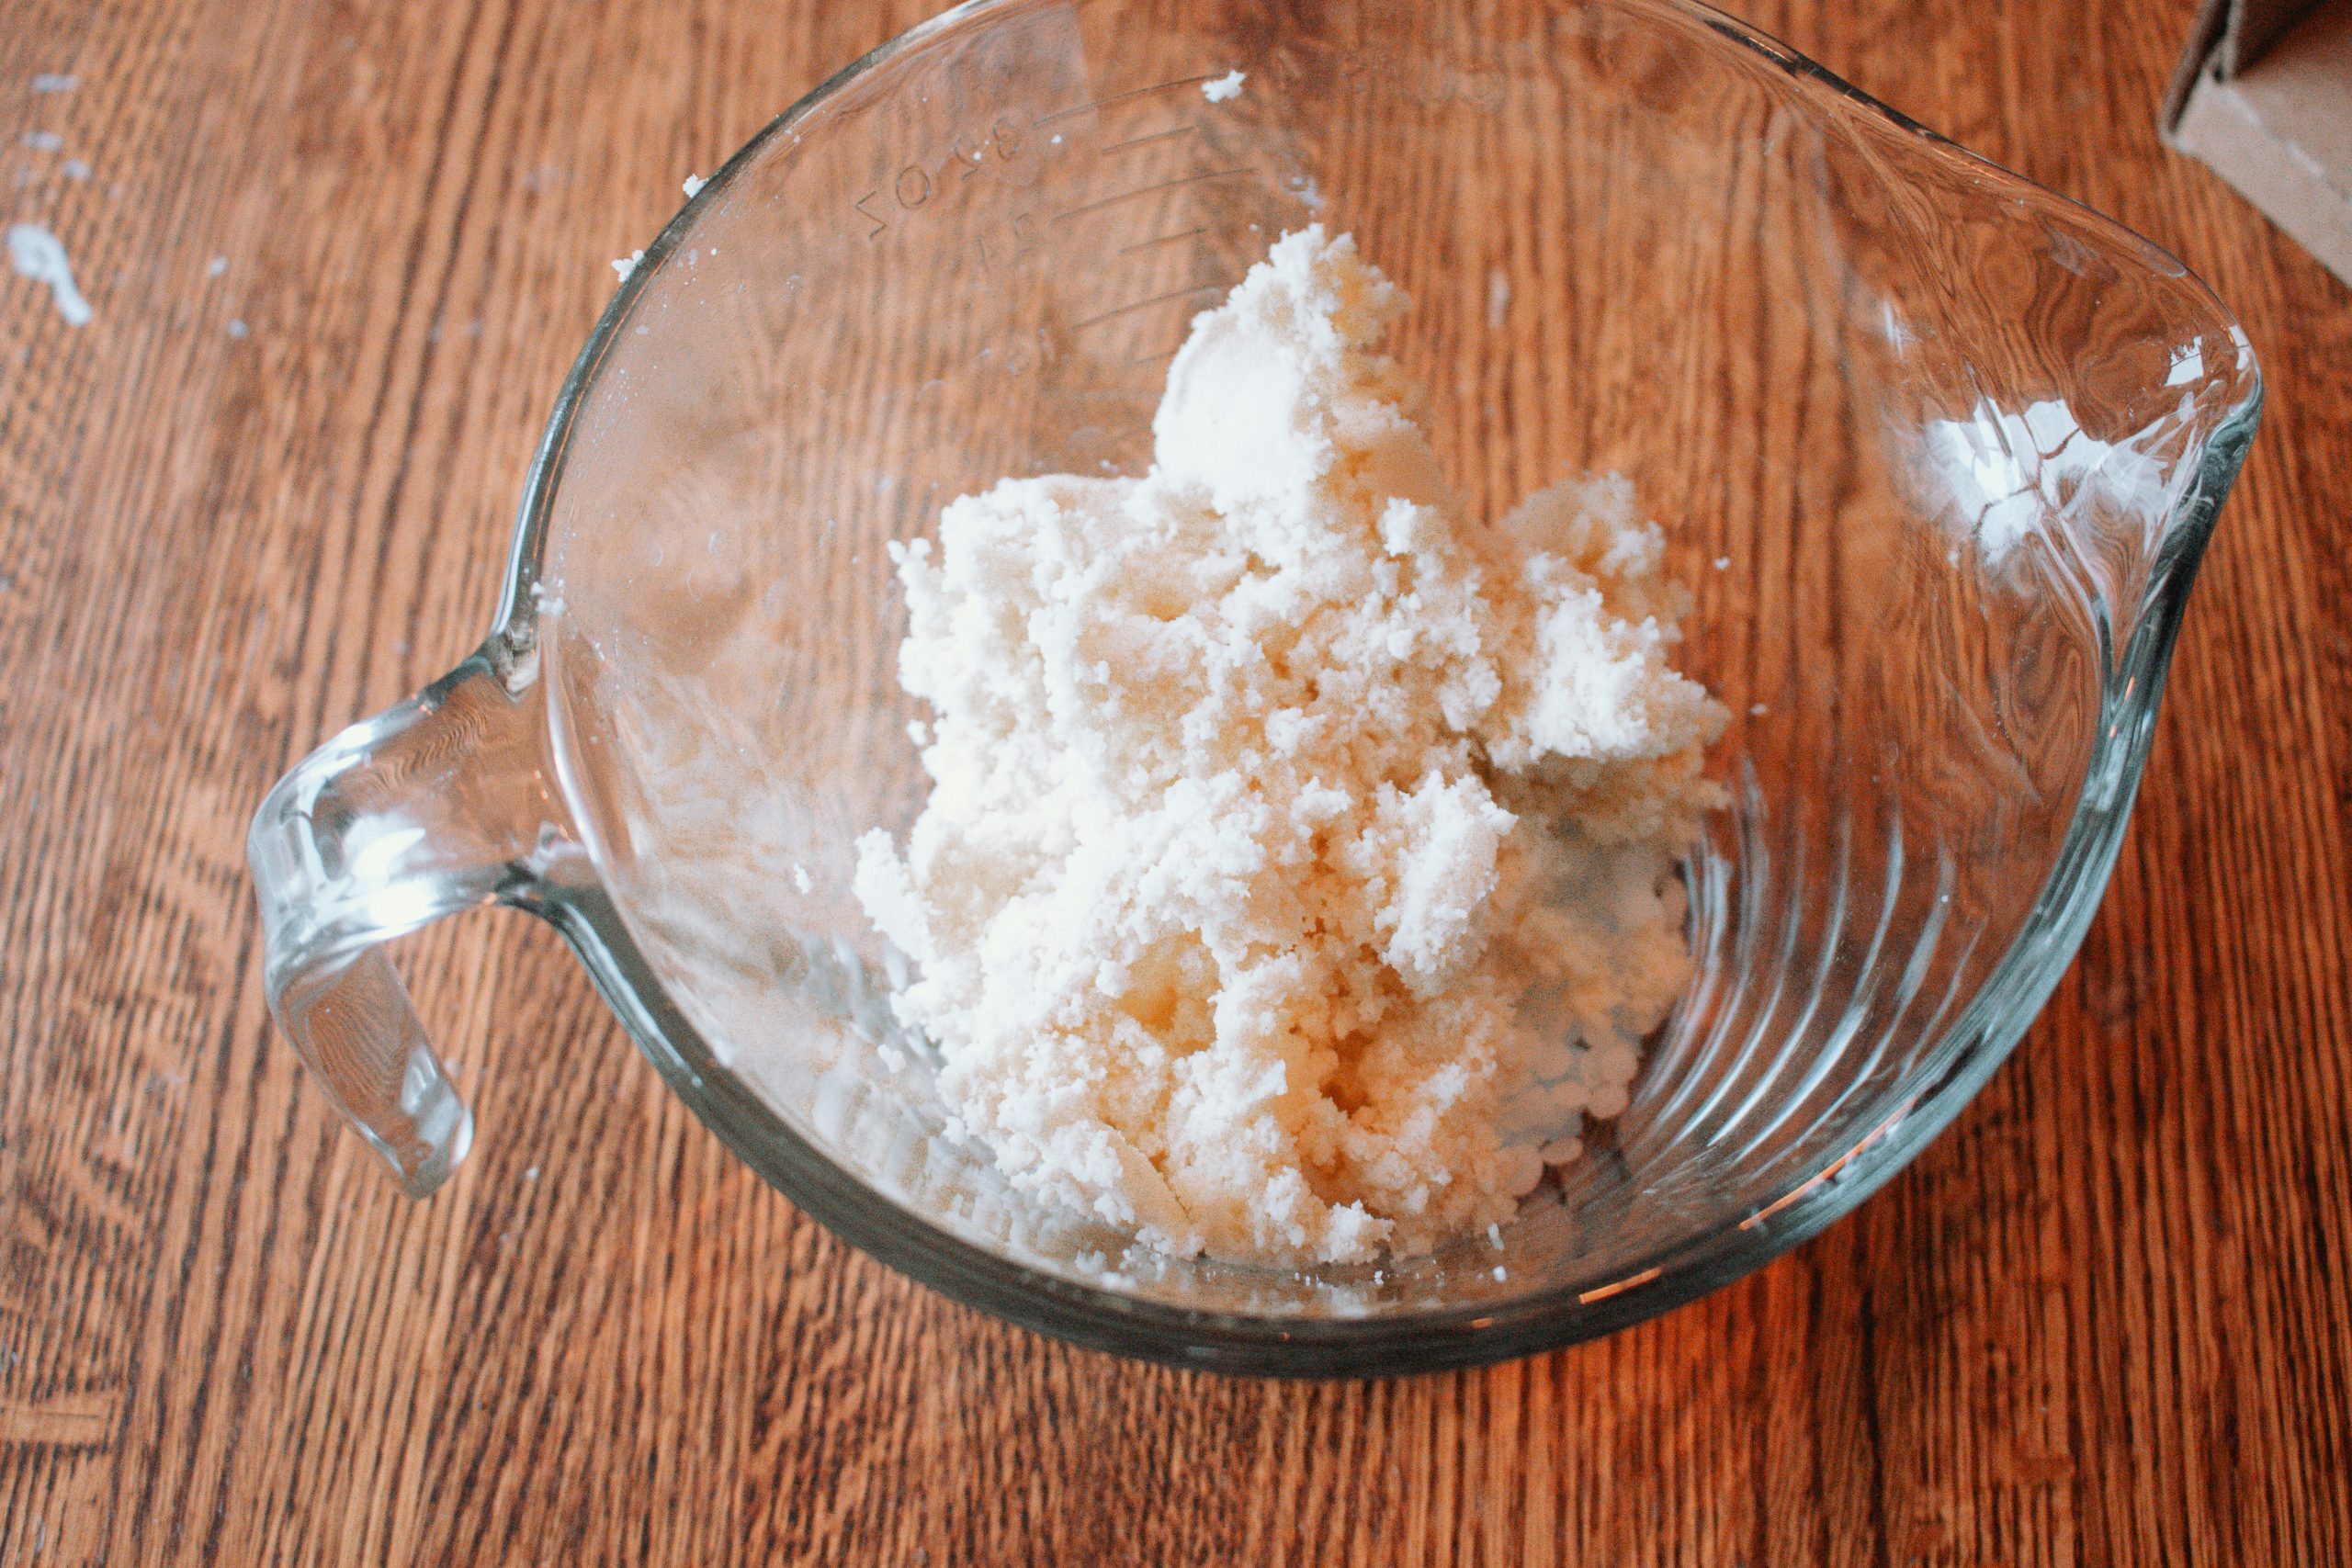
Basics of Using the Kit
Melt the IngredientsCombine beeswax and coconut oil in a double boiler until fully melted.
Add Essential OilsStir in the essential oils provided in the kit to add scent and therapeutic benefits.
Pour into ContainersCarefully pour the mixture into the lip balm tubes included.
Spread EvenlyUse the provided spatula to spread the mixture evenly over the holder.
Let Them SetAllow the lip balms to cool and solidify completely.
Label and EnjoyPersonalize your lip balms with the included labels and they’re ready to use or gift!
I absolutely love how this kit simplifies the process of making natural lip balms at home. It’s not only fun but also empowering to know exactly what ingredients are going into the products I use daily. Plus, it’s a wonderful activity to do with friends or family.
This recipe fills 50 standard lip balm tubes.
Use code “GHK10” at checkout to save!
Sourcing Your Own Ingredients & Making It Yourself
I understand that an entire kit isn’t the best solution for everybody! I’ve pieced together all of the ingredients & tools and a similar recipe for you here if you’d rather make it entirely on your own!
Supplies You’ll Need (click to shop):
Instructions:
Melt Ingredients:
In a heat-safe bowl or double boiler, combine 1 cup shea butter, 2 tbsp almond oil, 1/2 cup beeswax, and 2 tbsp cetyl alcohol.
Heat gently until all ingredients are completely melted, stirring occasionally to ensure even mixing.
Add Essential Oils:
Remove the mixture from heat and let it cool slightly for about 1-2 minutes.
Stir in 55 drops of your favorite essential oil (e.g., peppermint, lavender, or citrus).
Pour into Tubes:
Place your lip balm tubes in the lip balm tray for stability.
Use the provided spatula to carefully pour the melted mixture into each tube.
Cool and Set:
Allow the lip balms to cool and solidify at room temperature for 1-2 hours.
Remove the tubes from the tray and cap them.
This recipe fills 50 standard lip balm tubes.
Tips for Best Results:
Work quickly while pouring the mixture to prevent it from hardening before all tubes are filled.
For a smoother texture, ensure the mixture is fully melted and stirred well before pouring.
Use a small funnel or pipette if needed for precision when filling tubes.
Enjoy! Questions or comments? Leave them below! 👇🏻